Zipper Pulls & Fobs: Upgrading Stock Sliders on Leather Bags
A great zipper deserves a great pull. Most stock sliders ship with a stamped teardrop tab that is functional but forgettable — and often plated zinc that wears through in months. Replacing it with a solid brass pull and a handmade leather fob is one of the cheapest, most visible upgrades in leather work.
Anatomy of a zipper pull
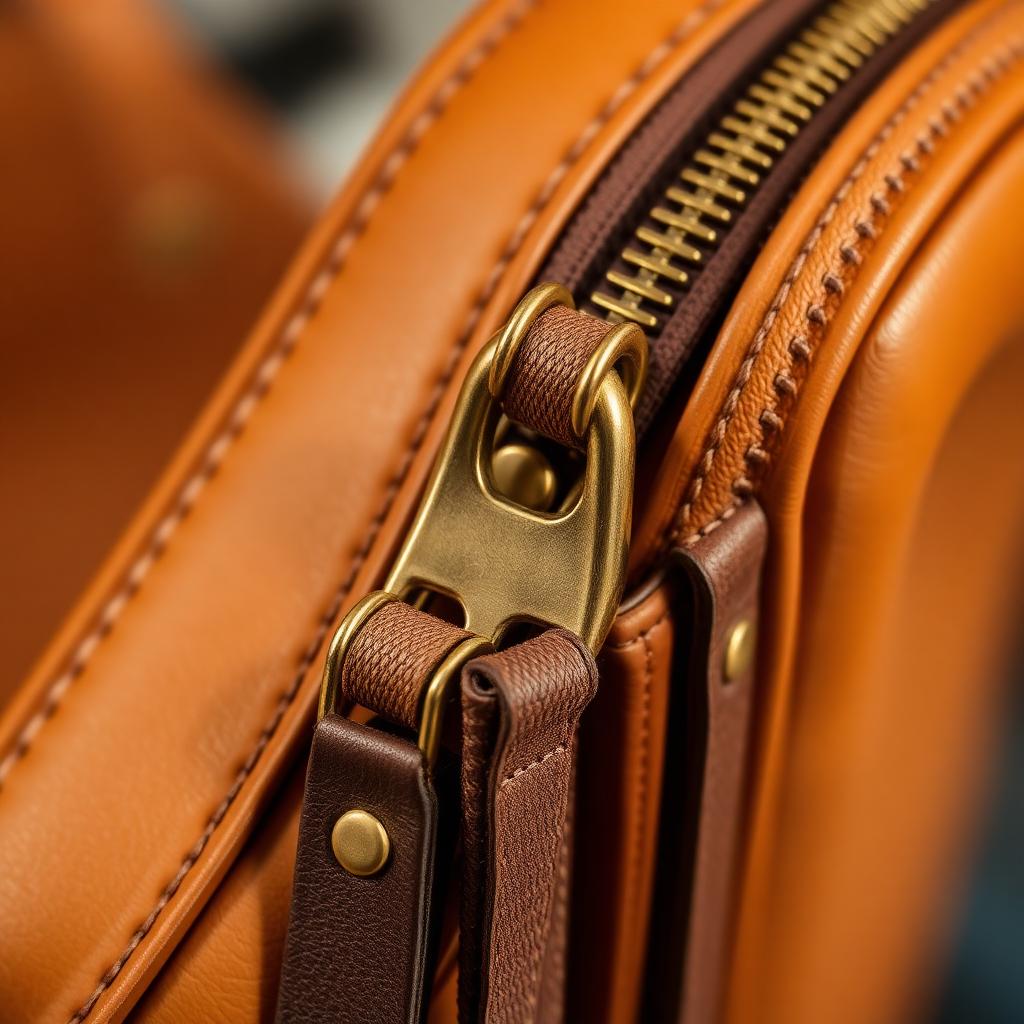
Every metal zipper slider has a small hole in the pull tab (or a lock loop above it) sized to accept a jump ring or split ring. That opening — typically 3–5mm — is where every upgrade attaches. Understanding what fits matters more than any design choice.
Three ways to upgrade
1. Replace the tab entirely
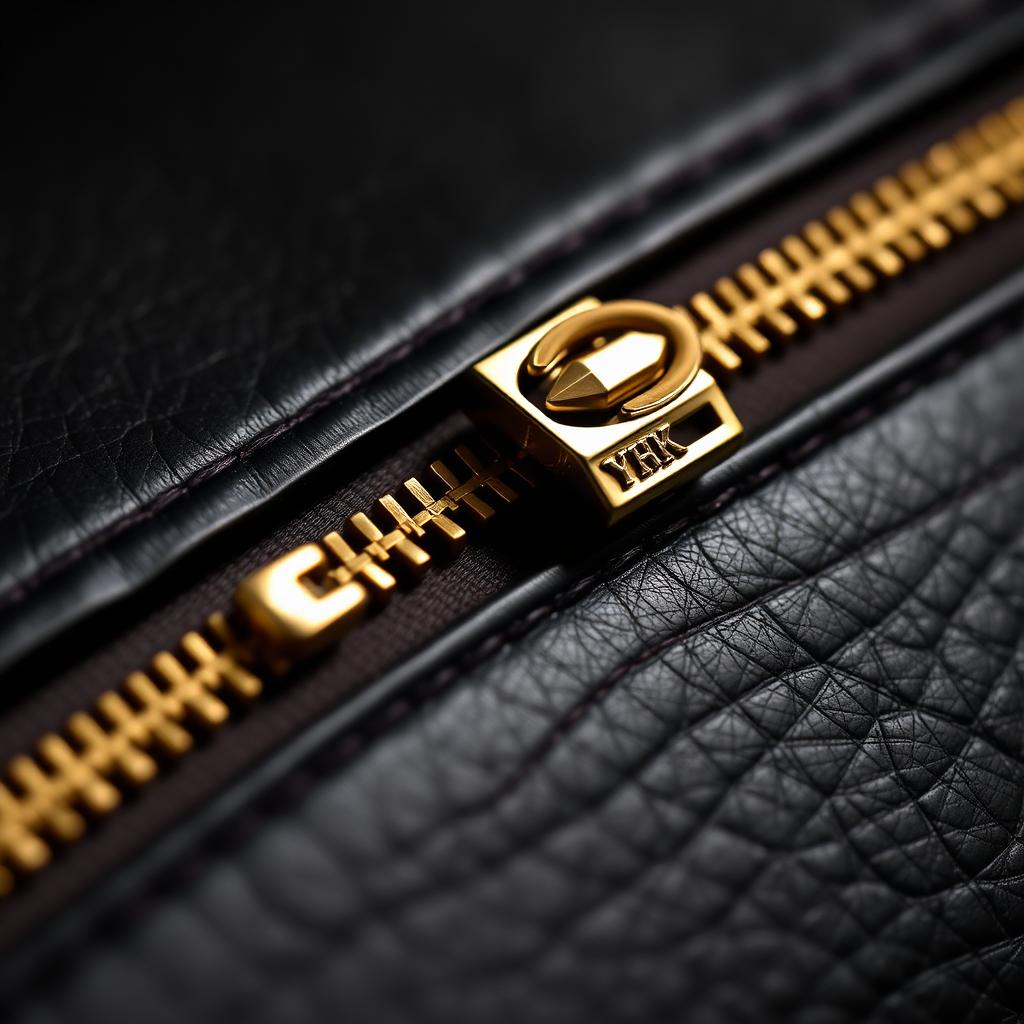
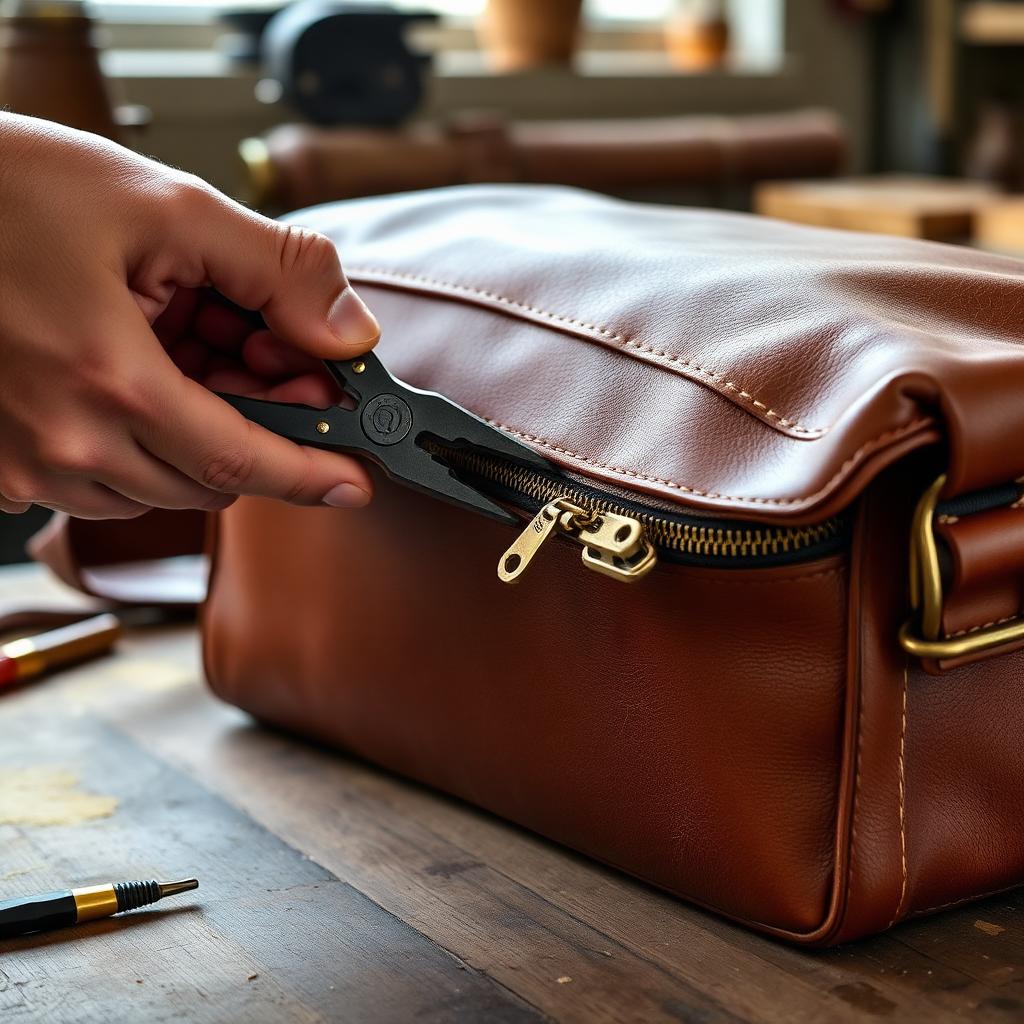
Slide the stock tab off (many YKK metal sliders release with a squeeze) and swap in a solid brass pull cast for your size. Brands like Ohio Travel Bag and Weaver Leather Supply carry sizes to fit YKK #5, #8, and #10.
2. Add a leather fob to the existing tab
Cut a strip of 3–4oz veg-tan, punch two holes, fold through the slider loop, and rivet or saddle stitch. This is the highest-ROI upgrade in leathercraft: minutes of work, dramatic result.
3. Split ring + brass charm + leather tab
A 6mm solid brass split ring lets you stack a leather pull, a small brass ornament, and even a signature stamped disc. This is the boutique-workshop signature look.
Sizing the fob to the zipper
| Zipper size | Fob length | Fob width | Best leather weight |
|---|---|---|---|
| #3 (wallets, pouches) | 18–25mm | 6–8mm | 2oz |
| #5 (crossbody, tote pockets) | 25–35mm | 8–10mm | 3oz |
| #8 (briefcase, backpack) | 35–45mm | 10–12mm | 3–4oz |
| #10 (duffel, luggage) | 45–60mm | 12–15mm | 4–5oz |
See our full zipper size guide if you are not sure which gauge you are working with.
Design rules that separate boutique from bootleg
- Match the finish. A polished brass pull on antique brass hardware always looks wrong. See our brass finish guide.
- Skive the fold. Where the leather doubles through the slider loop, skive to half thickness. Otherwise it looks lumpy and sits crooked.
- Burnish every edge. A raw-edged fob screams beginner. Our burnishing tutorial covers the technique.
- Never plated zinc. The slider is a wear surface — plating fails at the touch point first.
Common mistakes
- Fob too long. A fob that hangs past the zipper end catches on pockets. Keep it under 60% of the zipper's exposed length when closed.
- Split ring on a locking slider. Locking sliders (auto-lock) already resist backdrive; adding a heavy fob can defeat the lock. Use a lightweight leather tab only.
- Ignoring load direction. On duffel #10 zippers the pull sees real pull force. Solid brass 4–5mm wire minimum; no thin cast pulls.
Key takeaways
- Zipper pulls are the highest-touch hardware on a bag — spend the extra dollar per unit.
- Match pull finish to the rest of the hardware family exactly.
- Size the fob to the zipper gauge (see chart above).
- Solid brass or stainless only. Plated zinc always fails first at the pull.
Explore more closure detailing in our zippers, clasps and locks category.
Enjoyed this guide?
Browse more in Zippers, Clasps & Locks or share this article with another leather maker who'd find it useful.