Burnishing Leather Edges to a Glass Finish: The Complete Guide
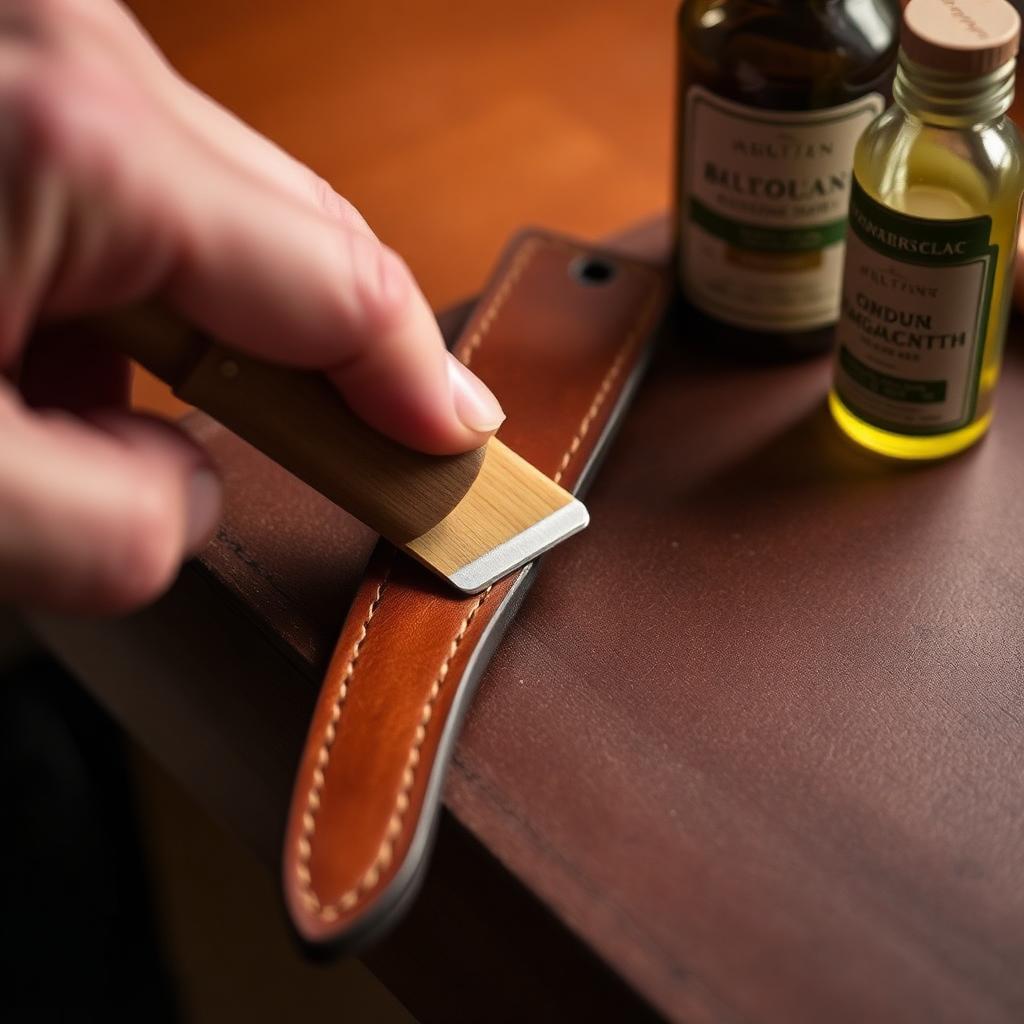
A glass-smooth burnished edge is what makes a $30 wallet look like a $300 wallet. It's not one technique — it's a stack: sand, dampen, slick, repeat, wax, polish. This guide walks through the full process for both vegetable-tanned and chrome-tanned leather.
Why burnish?
Leather edges are the cut faces of compressed fibers. Left raw, they fuzz, absorb moisture, and look unfinished. Burnishing fuses those fibers together with friction, heat, and a sealing agent — producing a hard, water-resistant, polished edge that ages beautifully.
Tools and supplies
- Edge beveler (#2 for most projects).
- Sandpaper: 220, 400, 600, 1000 grit.
- Wooden slicker or cocobolo burnisher with multiple groove sizes.
- Canvas scrap or denim for the final polish.
- Water (veg-tan only) and a small dish.
- Gum tragacanth or Tokonole (Japanese burnishing wax).
- Beeswax block or paste wax (carnauba for hardness).
Step 1: Bevel the edges
Run an edge beveler down both top and bottom edges. The goal is to remove the 90° corner and create two consistent 45° chamfers. Beveling alone makes the edge feel finished — it's the foundation for everything that follows.
Step 2: Sand the edge progressively
- 220 grit: knock down beveler marks and align the edge.
- 400 grit: smooth the surface.
- 600 grit: refine.
- 1000 grit (optional, for show pieces): pre-polish.
Sand along the length, not across — cross-sanding leaves visible scratches that burnishing won't fully erase.
Step 3: Burnish veg-tan with water (the traditional method)
- Dampen the edge with a finger dipped in water. The leather should darken but not be soaking.
- Rub the edge briskly with the wooden slicker — fast, even strokes along the length.
- You'll feel the edge heat up and start to glaze within 20–30 strokes.
- Re-dampen if the edge dries out before glazing.
- Finish with canvas or denim rubbed hard — the friction polishes the edge to a shine.
For pure veg-tan with no synthetic finishes, water alone produces an excellent edge.
Step 4: Burnish with gum tragacanth or Tokonole (the upgrade)
For a harder, more durable edge:
- Apply a thin coat of gum trag or Tokonole with a small brush or finger.
- Wait 30 seconds for it to soak in.
- Burnish hard with the slicker — 40–60 strokes.
- Polish with canvas.
- Optional: repeat for a thicker, glassier finish.
Tokonole (from Japanese supplier Seiwa) is the go-to among professional makers — it dries clear, doesn't crack, and burnishes harder than gum trag.
Step 5: Seal with wax (optional but worth it)
For maximum water resistance and a deeper shine:
- Rub a beeswax or carnauba paste wax block directly on the burnished edge.
- Burnish over the wax with the slicker — the friction melts wax into the fibers.
- Final polish with canvas.
The wax layer is what gives high-end belts and bag straps that "glass" look.
Burnishing chrome-tan leather
Chrome-tan doesn't burnish with water — the chrome-treated fibers don't compress the same way. Two workable approaches:
- Edge paint: Fenice, Giardini, or Vernis Italia paints applied in 2–3 thin coats, sanding between coats. The professional standard for chrome-tan bags.
- Edge kote + burnish: Apply Fiebing's Edge Kote or similar, let dry, then burnish lightly to smooth the coating.
Pair burnishing with the rest of your finishing
A great burnish only happens on a properly stitched, properly skived edge. See our saddle stitch tutorial for the seam and our skiving guide to flatten overlaps before you sand. Even a fully burnished edge won't save a bag with the wrong D-ring or hardware spec.
Common mistakes
- Edge stays fuzzy. Not sanded smooth enough. Go back to 400 grit before burnishing again.
- Edge cracks after a few weeks. Too much gum trag, or applied to chrome-tan. Use Tokonole sparingly or switch to edge paint.
- Burnishing dulls instead of shines. Slicker is too smooth or you're not generating enough friction. Speed up; bear down harder.
- Color darkens unevenly. Inconsistent dampening. Pre-wet the entire edge with a damp sponge before burnishing.
Slicker upgrade path
- Wooden slicker (~$8): fine for everything.
- Cocobolo or boxwood multi-groove burnisher (~$30): handles multiple thicknesses.
- Drill-mounted burnisher ($15 + drill): 4× faster, great for long edges and production work.
- Bench-mounted electric burnisher ($150+): production tool for full-time makers.
Key takeaways
- Bevel, then sand 220 → 400 → 600 → 1000.
- Veg-tan: water + slicker is enough; gum trag or Tokonole levels it up.
- Chrome-tan: use edge paint, not water burnishing.
- Finish with beeswax or carnauba for water resistance and shine.
- Sand along the length, never across.
FAQ
Can I burnish without sanding first?
You can, but the result will be cloudy rather than glass-smooth. Sanding is 70% of the final finish quality.
Does burnishing make edges waterproof?
Water-resistant, not waterproof. A waxed, well-burnished edge sheds rain and casual splashes; submerging will eventually penetrate.
Tokonole vs. gum tragacanth — which is better?
Tokonole is harder, longer-lasting, and produces a sharper edge. Gum trag is cheaper and easier to find. For premium work, Tokonole.
Conclusion
Burnishing is the finishing skill that closes the gap between hobby and craft. The first time you finish a wallet edge to a glass shine, you'll start re-doing edges on old projects just to see them gleam. Show off your best edge in the comments, and explore the full leathercraft tutorial library for what to learn next.
Enjoyed this guide?
Browse more in Leathercraft Guides & Tutorials or share this article with another leather maker who'd find it useful.


