How to Dye and Finish Vegetable-Tanned Leather Without Blotches
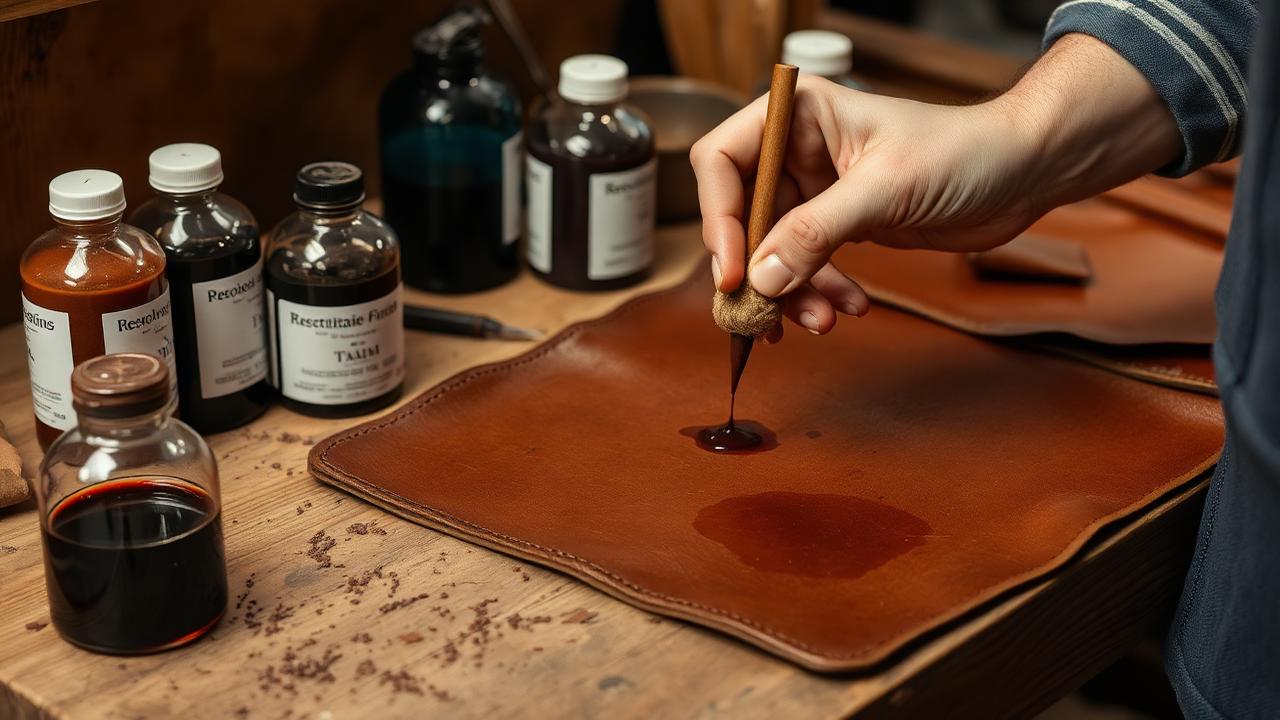
Vegetable-tanned leather takes dye beautifully and punishes impatience. Streaks, dark rings and pale patches all trace back to three causes: surface contamination, dye applied too dry, and stopping mid-panel. Fix those and even a beginner gets a uniform finish.
Step 1 — Prepare the surface
Handle the leather with clean, dry hands only. Finger oils resist dye and show up as pale fingerprints. Before dyeing:
- Cut, punch and bevel everything first — dyeing after assembly is far harder.
- Wipe the grain with a deglazer or plain isopropyl alcohol to strip waxes and oils.
- Optional: a light coat of neatsfoot oil 24 hours before dyeing evens absorption on dry hides.
Step 2 — Choose the right dye
| Dye type | Character | Best for |
|---|---|---|
| Spirit / alcohol-based | Deep penetration, fast drying, can be streaky | Dark colours, full saturation |
| Water-based | Slower, more forgiving, less penetration | Beginners, pastels, indoor work |
| Oil dye | Rich, uniform, resists rub-off | Bags and belts, professional results |
| Antique paste / gel | Sits in tooling recesses | Tooled Western pieces |
Oil dyes (Fiebing's Pro Dye and equivalents) are the most forgiving for large flat panels. Reference the manufacturer's own guidance at Fiebing's before mixing brands.
Step 3 — Dilute and test
Cut spirit dye 1:1 with denatured alcohol (or the maker's reducer). Diluted dye applied in three coats is dramatically more even than one heavy coat. Always test on scrap from the same hide — the same dye reads two shades apart on different hides.
Step 4 — Apply without stopping
Three reliable methods:
- Wool dauber, circular motion — best for small pieces, always keep the dauber loaded.
- Sheepskin scrap or sponge, overlapping passes — best for panels, alternate direction each coat.
- Dip dyeing — most even of all: 2–4 seconds fully submerged, then hang to dry. Use for belts and straps.
Never stop mid-panel. A drying edge becomes a visible line you cannot blend out.
Step 5 — Dry, buff, oil
Let the piece dry 4–12 hours at room temperature — never with a heat gun, which stiffens fibres. Buff hard with a soft cloth to remove loose pigment; expect a surprising amount on dark colours. Then apply a thin coat of neatsfoot oil to restore flexibility, and let it distribute overnight.
Step 6 — Seal it
- Resolene (diluted 1:1 with water): durable water-resistant film. Two thin coats, sponge-applied.
- Carnauba cream: soft satin sheen, easy to reapply, less water protection.
- Beeswax / oil blend: traditional feel, darkens the leather slightly.
- Aussie or Sno-Seal: heavy conditioning for outdoor gear.
Seal before installing hardware where possible — finish that runs under a rivet cap can look muddy. If hardware is already set, see our copper rivet tutorial for masking tips.
Fixing common problems
- Streaks: apply another diluted coat in the opposite direction; streaks usually vanish by coat three.
- Pale patches: contamination. Deglaze the whole piece and start again.
- Rub-off on clothing: insufficient buffing or no sealer. Buff hard, then apply resolene.
- Blotchy dark rings: dye pooled. Keep the applicator moving and never flood one spot.
Key takeaways
- Deglaze first — contamination causes most blotching.
- Dilute dye and build colour in three coats.
- Never stop mid-panel; overlap wet into wet.
- Buff hard, oil, then seal.
- Test every hide on scrap before committing.
FAQ
Can I dye chrome-tanned leather?
Not effectively with spirit dye. Chrome-tan is already finished; use a leather paint or acrylic finish instead.
Should I dye before or after burnishing?
Dye edges first, then burnish — see our edge burnishing guide.
How long before the piece is usable?
Allow 24–48 hours total including oiling and sealing.
Conclusion
Even dye work is a process, not a product choice. Prep, dilute, keep moving, buff, seal. Find more finishing tutorials in Leathercraft Guides & Tutorials.
Enjoyed this guide?
Browse more in Leathercraft Guides & Tutorials or share this article with another leather maker who'd find it useful.


