How to Make a Leather Phone Pouch: Custom Fit, Snap and Crossbody Strap
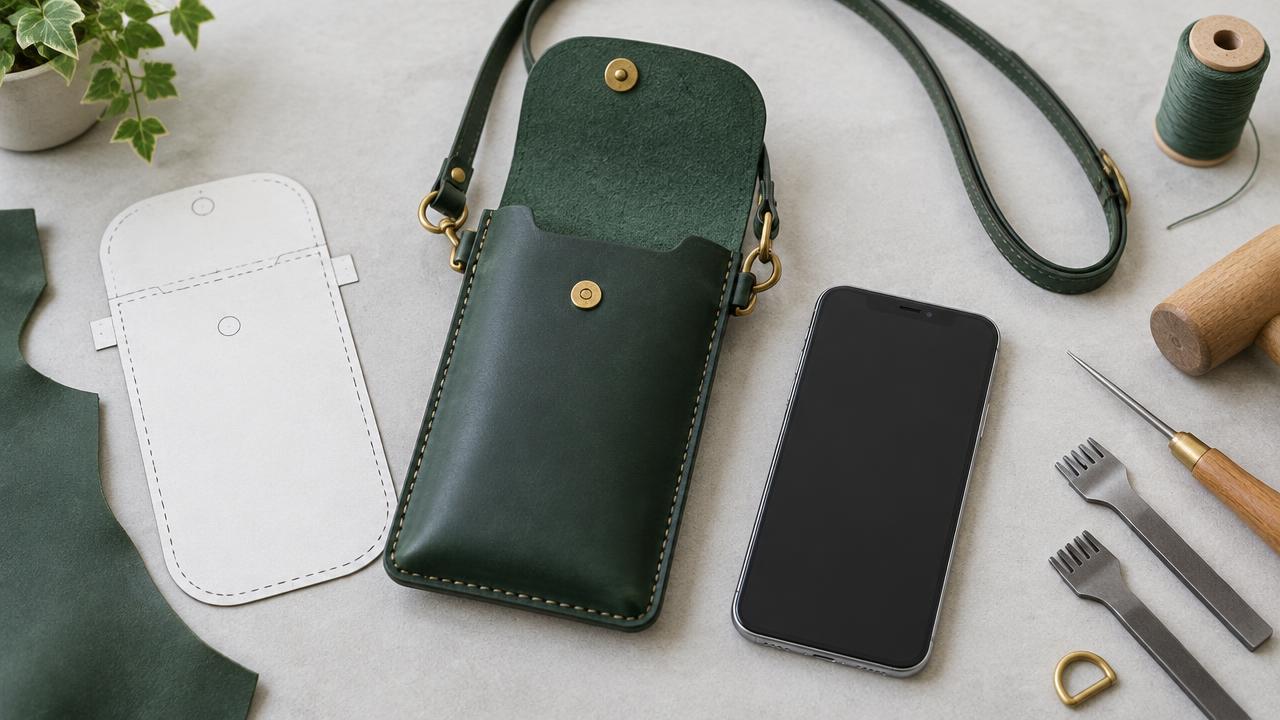
To make a leather phone pouch that actually fits, measure the phone with its everyday case, make a paper mock-up, and attach the closure only after checking the loaded pouch. This tutorial uses two body panels, an extended back flap and reinforced D-ring tabs. It is a compact way to practise the same hardware connections used on larger bags.
The dimensions below are a starting design, not a universal phone pattern. Leather stiffness, seam placement and case thickness change the available space. The accompanying image is an illustrative design, not a photograph of a tested build.
Materials and tools
- Firm but flexible leather around 1.2–1.6 mm thick for the body, with suitable offcuts for tabs.
- One snap set whose post length suits the actual leather stack.
- Two D-rings, two compatible swivel hooks and a strap with matching hardware widths.
- Paper, ruler, sharp knife, cutting mat, stitching chisels, awl, two needles and waxed thread.
- A hole punch, snap setter and anvil specified for your chosen snap.
For first-time hardware installation, read our hole punch sizing guide and snap installation guide. A conventional press snap is different from a magnetic snap; use the instructions for the hardware you actually bought.
Calculate a starting pattern
Let W be the cased phone's width, H its height and T its thickness, all in millimetres. For this flat, two-panel design, begin with panel width W + T + 16 mm and body height H + T/2 + 12 mm. These allowances include approximately 4 mm seam margins and modest ease. Draw the back panel with an additional 55–70 mm flap; adjust the extension in your mock-up rather than treating it as a fixed measurement.
| Measurement | Example phone | Starting paper pattern |
|---|---|---|
| Cased width W | 78 mm | Panel width: 106 mm |
| Cased height H | 160 mm | Body height: 178 mm |
| Cased thickness T | 12 mm | Back panel with 60 mm flap: 238 mm high |
Fold and tape the paper at the intended seam lines. Insert the phone and check that you can grasp its top. Add width if the side seams bind. A paper model cannot reproduce thick leather, so repeat the fit check with scraps before cutting valuable stock.
Choose the closure and strap hardware
| Option | Best use | What to check |
|---|---|---|
| Press snap flap | A compact everyday pouch | Opening force and clearance between metal parts and phone |
| Button stud with slotted tab | A simple adjustable flap | Slot fit, tab wear and exposed metal inside |
| No flap | A quick-access pocket | Retention when bending; not equivalent to a closed pouch |
Choose hooks that close fully around the D-rings without binding. Ring width alone does not guarantee compatibility: the hook throat must also clear the ring's wire thickness. Our hook comparison explains the differences.
Step-by-step assembly
- Cut the panels. Transfer the tested paper pattern, rounding the flap corners. Mark seam lines about 4 mm from the cut edges. Keep grain direction consistent.
- Finish inaccessible edges. Finish the front opening and the flap perimeter before assembly. Choose edge paint or burnishing to suit the leather rather than forcing a soft leather edge to burnish.
- Prepare the ring tabs. Fold each tab through a D-ring and position it near the upper side seam. Keep the ring clear of the flap. Stitch the folded tab to a reinforced area of the back panel; do not rely on a single hole close to an edge. See strap anchor reinforcement.
- Fit the snap. Temporarily align the panels, put a phone-shaped block inside and close the flap. Mark matching snap centres. Remove the real phone before punching or setting hardware. Cover any interior metal with a securely attached leather patch so it cannot scratch the case.
- Stitch the body. Hold the panels with clips or suitable adhesive and punch corresponding holes. Saddle stitch the sides and bottom, keeping the top open. Our beginner saddle stitching tutorial covers needle handling.
- Fit the strap. Measure a comfortable crossbody drop on the wearer using cord. Account for hooks, folds and any adjuster before cutting leather. Connect both hooks and check that their gates return fully closed.
Fit checks and common mistakes
Use a smooth dummy block for the first insertion test. If the pouch is tight, do not force the phone past exposed hardware. A seam that is too close to the edge, an oversized stitch hole or a tab secured only to thin leather can tear under movement. Remake the affected part rather than disguising the weakness with extra rivets.
Carry the pouch over a soft surface during the first checks. Confirm the phone stays inside when you lean forward, the flap closes without pressure on the screen, and the strap does not twist at the rings. This is an accessory, not impact protection or a waterproof enclosure.
Frequently asked questions
Can I use one pattern for every phone?
No. Measure each phone with its case and test the seam allowances. Two phones with similar screens can have very different outside dimensions.
Should I line the pouch?
A smooth lining can cover interior hardware, but it reduces capacity. Add it before the body seams and repeat the fit test; see our lining guide.
Can I add a card pocket?
Yes, but stitch it to the front panel before assembling the body and allow for the card stack. Start with the pocket construction in our leather card holder tutorial.
Further reading
Tandy’s crossbody phone pouch kit offers an alternative pre-cut construction. Its pattern is not the custom layout described here.
Next project
Once the phone fits and the anchors are secure, use the same small-panel skills for a zippered pouch or browse Leathercraft Guides & Tutorials. A well-fitted pattern matters more than decorative hardware.
Printable project checklist
How to Make a Leather Phone Pouch: Custom Fit, Snap and Crossbody Strap
Materials and tools checklist
Step-by-step checklist
These are starting allowances, not a universal phone pattern. Check fit before cutting valuable leather. The pouch is not impact protection or a waterproof enclosure.
Enjoyed this guide?
Browse more in Leathercraft Guides & Tutorials or share this article with another leather maker who'd find it useful.


