How to Make a Leather Bottle Sling: Pattern, Strap Hardware and Full Build

A leather bottle sling is the crossover project of the year: half bag build, half mold work, and the single most asked-after piece at craft markets right now. This guide covers sizing for standard bottles, the stitched-vs-wet-molded decision, and every strap hardware choice from D-rings to slide buckles.
Size the sleeve to the bottle, not the other way around
| Bottle | Typical Ø × height | Sleeve height | Sleeve circumference (cut) |
|---|---|---|---|
| 500 ml steel flask | 70 × 220 mm | 150 mm | 240 mm + seam allowance |
| 750 ml steel bottle | 76 × 250 mm | 170 mm | 260 mm + seam allowance |
| 1 L growler | 90 × 270 mm | 190 mm | 305 mm + seam allowance |
Measure your actual bottle — steel bottles vary by brand — and add 4–5 mm of ease around the circumference. A leather bottle sling that fits perfectly when empty should still let the bottle slide out with a shake; a sling that needs a tug on day one will be impossible when the leather swells on a humid day.
Construction: stitched tube vs wet-molded cup
| Method | Stitched tube | Wet-molded cup | Verdict |
|---|---|---|---|
| Look | Flat leather, visible seam | Seamless formed base, sculpted look | Molded wins on looks, stitched wins on simplicity |
| Difficulty | Beginner — straight seams only | Intermediate — forming takes practice | First build: stitched. Second build: molded |
| Tools | Chisels, needles, thread | Forming ball, wooden blank, patience | The stitched build needs nothing new |
| Durability | Excellent — seam is the weak point, and it's doubled | Excellent — no seam at the base | Both outlive the bottle |
Build — stitched sling, step by step
- Cut the sleeve. One rectangle: bottle circumference + 5 mm ease by sleeve height + 15 mm top hem, in 2.5–3.0 mm veg-tan shoulder. Cut a 3 mm thick base disc to match the bottle's diameter.
- Skive the seam edges to 1.5 mm on the last 20 mm of both long edges, so the seam lap stays thin. The method is in the skiving guide.
- Glue the seam lap with contact cement and saddle stitch it with 1.0 mm waxed thread — two rows, 3 mm apart, for anything above 500 ml size. The stitch is taught in the saddle stitch tutorial, and thread sizing in the thread guide.
- Set the base disc. Insert the disc, then stitch around the bottom edge through sleeve and disc. This double layer is what lets the sling carry 1.5 kg of full bottle without the base bowing.
- Attach the D-ring anchors. Two cast D-rings sit on opposite sides at the top hem. Punch 3 mm holes and set copper rivets and burrs — the strongest option. Choosing between D, O and rectangle shapes is covered in D-rings vs O-rings vs rectangle rings, and why casting quality matters in cast vs forged vs stamped D-rings.
- Reinforce the anchors. Rivets in 2.5 mm leather holding a swinging 1.5 kg load need backing — stitch a small reinforcement patch inside the hem under each ring, exactly as described in the strap anchor reinforcement guide. Skip this and the rivets will tear out within a season.
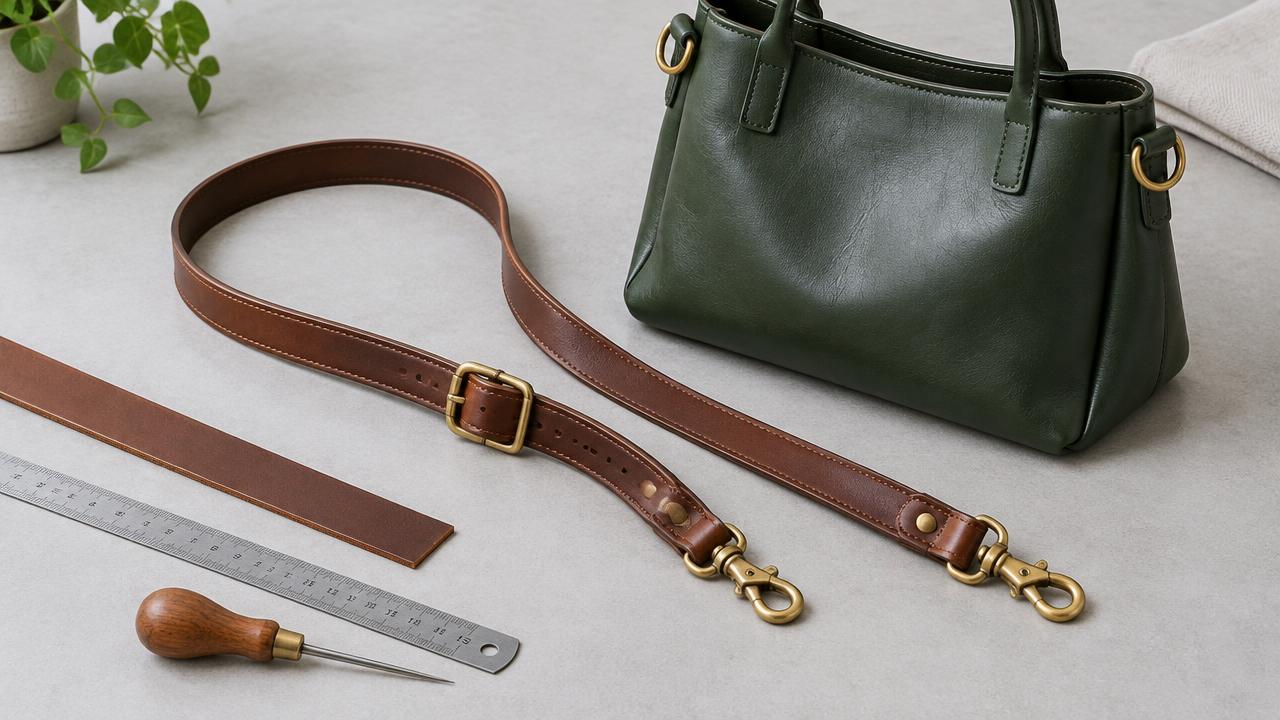
- Build the strap. Cut a 19 mm × 1100 mm strap, tapering to 25 mm at the anchor ends. Feed one end through a 19 mm slide buckle for length adjustment — the slide-vs-roller trade-offs are in slide buckles vs roller buckles. Finish the free end with a 19 mm swivel hook; picking between hook styles is in swivel snap hooks vs trigger snap hooks.
- Finish. Burnish every edge to glass per the burnishing guide, then treat the whole sling with balm. Dye before hardware goes on, following the dyeing and finishing guide.
Strap hardware: what actually holds
| Component | Choose | Avoid | Why |
|---|---|---|---|
| Anchor rings | Cast or forged brass D-rings, 4 mm stock | Stamped 2 mm rings | A swinging bottle generates shock loads; stamped rings open up |
| Strap adjuster | Slide buckle, 19 mm, solid brass | Roller buckle | Slide buckles grip without a keeper hole; rollers are for belts |
| Attachment | Swivel hook, 19 mm eye | Fixed clip | The swivel stops the strap twisting as you walk |
| Fasteners | Copper rivets + burrs | Line 20 snaps at anchors | Snaps are closures, not structural fasteners — they shear under swing load |
FAQ
Will a full 1 L bottle really hold on rivets?
Yes — with the reinforcement patches and 4 mm-stock rings. A full liter weighs about 1.3 kg, but the dynamic load when the sling swings is roughly triple that. That is why the anchor guide's doubled-leather method is not optional here.
Can I wet-mold the base instead of stitching a disc?
Yes, and it's the upgrade for build two: case the sleeve leather thoroughly, push it over a wooden bottle blank, and work the base with a forming ball until the cup sets. Dry it fully on the blank for 24 hours before stitching the seam. The leather keeps the molded shape permanently.
How do I keep the sling from staining the bottle?
Seal the inside. One coat of leather finish or acrylic resolene on the interior, applied before assembly, stops dye and tannins transferring to a steel bottle — the products are compared in the finishing guide.
What about a crossbody length strap?
Cut the strap 1400 mm instead of 1100 mm — it will reach crossbody for most adults and still adjust shorter. Keep the 19 mm width: wider straps look right on totes but make a bottle sling feel like a camera bag.
Conclusion
Measure the bottle, double the seam, reinforce the anchors — the bottle sling rewards the same discipline as every good carry build. When it's done, the natural companion is the leather tote bag or the camera strap that shares its hardware, or browse all builds in Leathercraft Guides & Tutorials.
Enjoyed this guide?
Browse more in Leathercraft Guides & Tutorials or share this article with another leather maker who'd find it useful.