How to Set Copper Rivets by Hand: A Step-by-Step Tutorial
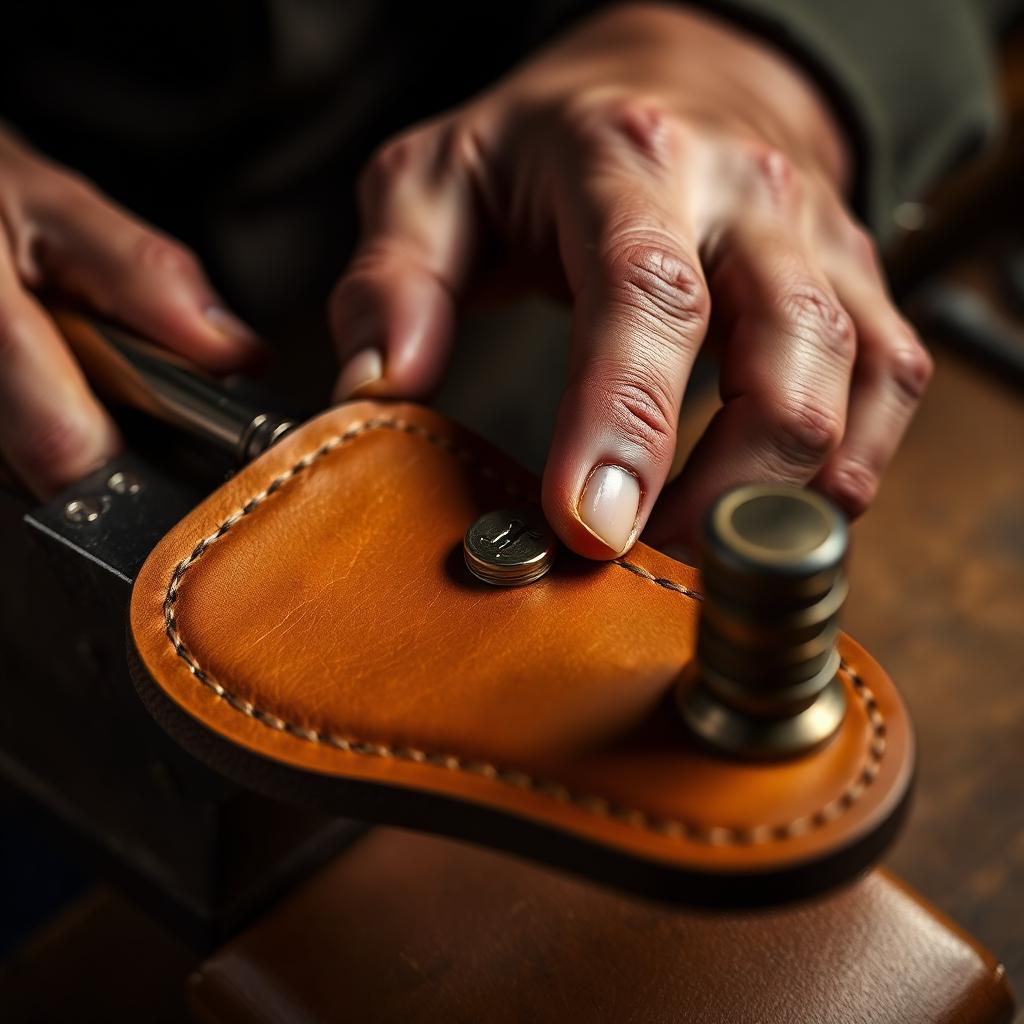
Solid copper rivets are the heirloom fastener of leatherwork — used on saddles, work belts, and bushcraft sheaths for over a century. Unlike double cap rivets, they're permanent, repairable, and develop a patina that ages with the leather. This guide walks through the full hand-setting process, from sizing to peening.
What you'll need
- Solid copper rivets and burrs — Sizes #9 (small), #12 (medium), #14 (heavy). Match burr to rivet size.
- Rivet setter (concave end) sized to your rivet head.
- Burr setter — a hollow punch that seats the burr against the leather.
- Small anvil or steel block — at least 1 kg of mass to absorb hammer blows.
- Ball-peen hammer, 8–16 oz.
- Hole punch sized to the rivet shaft (usually 3 mm for #9, 4 mm for #12).
- Side cutters for trimming the shaft.
Step 1: Size the rivet to the leather
The rivet shaft should protrude 1.5–2 mm above the burr after the burr is seated. Too short and you can't form a head; too long and the peened head mushrooms sideways and looks rough.
Quick formula: shaft length = total leather thickness + burr thickness + 2 mm.
Step 2: Punch a clean, snug hole
Use a rotary or drive punch one size smaller than the rivet shaft if your leather is firm — the fibers will compress and grip. For soft chrome-tanned leather, match the punch to the shaft. A loose hole is the #1 cause of rivets that spin in place after setting.
Step 3: Seat the burr
- Insert the rivet from the show side (head down on the anvil).
- Slip the burr (concave side up) over the shaft from the back.
- Place the hollow burr setter over the shaft so it presses on the burr.
- Strike sharply 2–3 times. The burr should bottom out tight against the leather with no gap.
If there's any wiggle between the burr and the leather, the rivet will eventually loosen. Re-seat before peening.
Step 4: Trim the shaft
With side cutters, snip the shaft so 1.5–2 mm remains above the burr. Cut at a slight angle to leave a small point — this gives the hammer something to "catch" on the first blow and prevents the shaft from collapsing sideways.
Step 5: Peen the head
This is the step that separates a clean rivet from a hammered mess.
- Rest the rivet head on the anvil. The burr side faces up.
- Using the round face of the ball-peen, deliver light, rotating taps around the perimeter of the shaft — not straight down the middle. Think of drawing a small circle with the hammer.
- Every 8–10 taps, switch to a single firm strike straight down to flatten the dome.
- Continue until the head is a smooth, slightly rounded mushroom that fully covers the burr edge.
The whole peening process should take 30–60 seconds per rivet. Rushing produces a sharp, sideways-mushroomed head; over-hammering work-hardens the copper and can crack it.
Common mistakes (and how to fix them)
- Rivet spins in the hole. Hole was too large or burr didn't seat. Drill it out and use a larger rivet.
- Head is sharp and lopsided. Hammered straight down instead of rotating. Practice on scrap.
- Copper cracked during peening. Work-hardened from overstrikes. Use lighter, faster taps; anneal stubborn rivets with a propane torch (heat to dull red, quench in water).
- Burr won't seat flush. Shaft too short — start over with a longer rivet.
When to choose solid copper over double cap
Solid copper rivets win for permanence and load — saddle skirts, knife sheath welts, heavy belts, and bushcraft gear. Double cap rivets are faster and cleaner for wallets, light straps, and decorative work, but they can't be repaired and they shear under hard loads. For a deep comparison of fastener metals, see our guide to solid brass vs plated hardware.
Tool upgrade path
If you set more than a few rivets a week, a benchtop rivet press (e.g. Weaver Leather Supply or Osborne) pays for itself in consistency. But for low-volume work, a $30 setter kit and a 2 kg anvil block give identical results — the hand method is the one used by virtually every traditional saddle shop.
Key takeaways
- Match shaft length to total thickness + burr + 2 mm.
- Punch slightly undersized for firm leather; exact size for soft leather.
- Seat the burr fully before peening — no gaps.
- Peen with rotating taps, not straight blows.
- Anneal copper if it work-hardens.
FAQ
Can I set copper rivets without an anvil?
You need a hard, heavy surface — a steel block, bench vise top, or even a railroad spike will work in a pinch. Wood and concrete won't transmit enough energy to peen the head cleanly.
Do copper rivets corrode?
Copper develops a brown-green patina but doesn't rust. On vegetable-tanned leather the tannins can react with the copper and leave a dark halo around the burr — this is normal and considered desirable on traditional work.
What's the strongest size for a heavy belt?
#12 copper rivets are the standard for 8–10 oz belts. Go to #14 for double-layered work belts, gun belts, or anything carrying significant weight.
Conclusion
Hand-set copper rivets are one of the most satisfying skills in leatherwork — slow at first, then quick once your wrist learns the rotation. Done right, they outlive the leather around them. Got a rivet question or a setup that works for you? Share it in the comments, or browse more leathercraft tutorials.
Enjoyed this guide?
Browse more in Leathercraft Guides & Tutorials or share this article with another leather maker who'd find it useful.


