How to Install Magnetic Snaps in Leather (Hidden and Sew-In Methods)
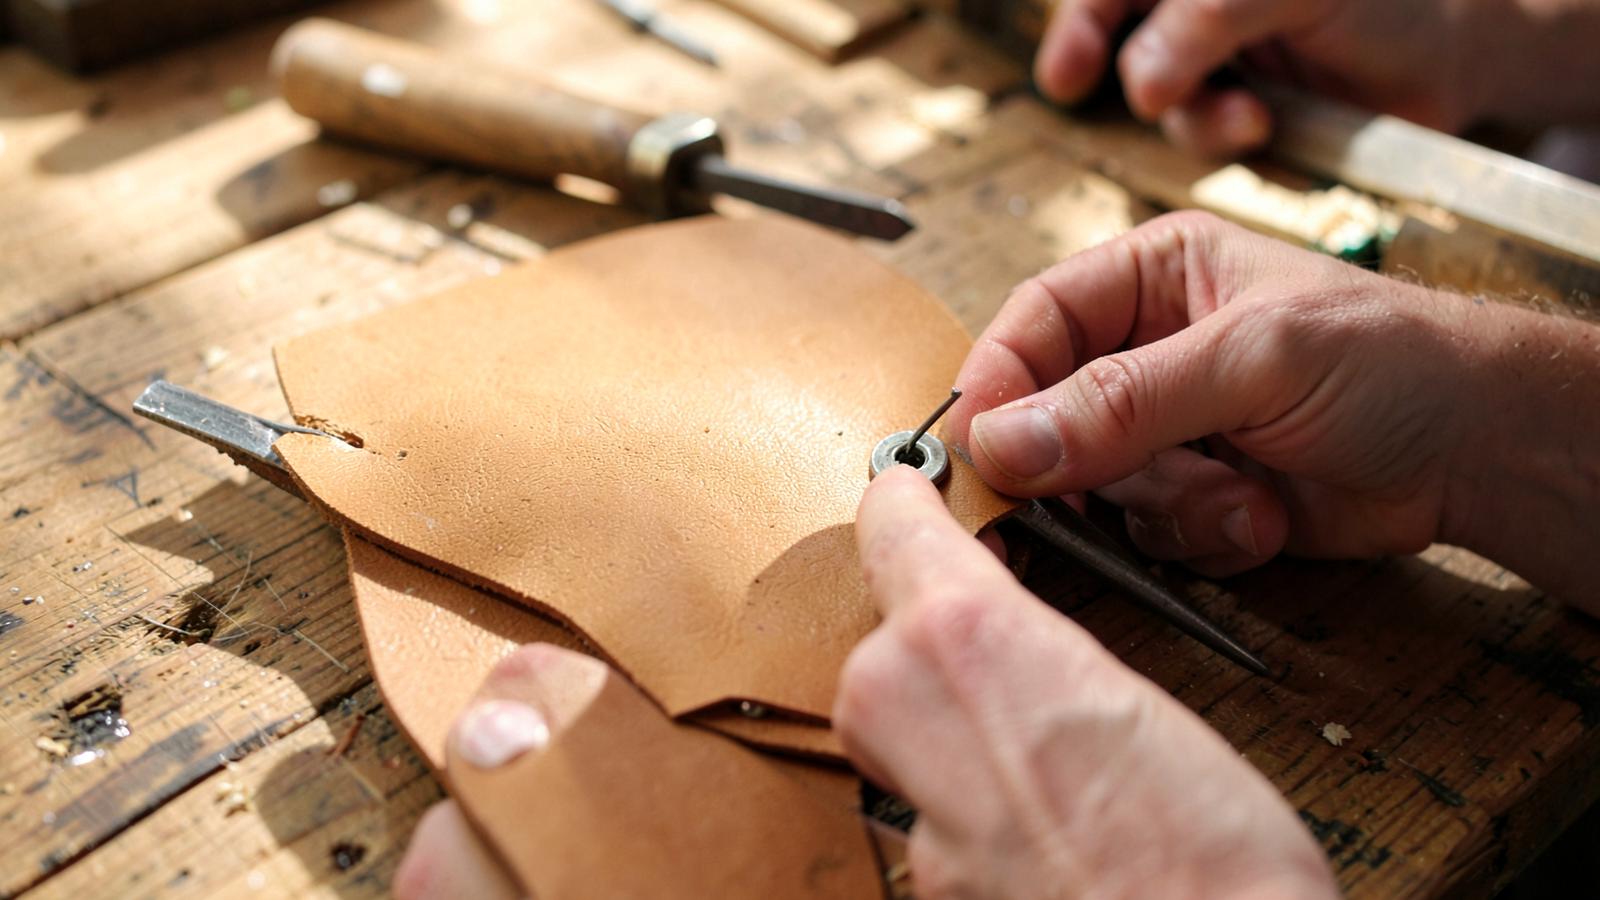
A magnetic snap takes about four minutes to install and about four seconds to ruin a flap. The two failure modes are always the same: prongs cut without a backing washer, so the leather tears; or the halves are measured from the wrong reference, so the flap sits crooked forever. Both are avoidable with a repeatable sequence.
The three magnetic snap types
| Type | How it fixes | Best for | Skill level |
|---|---|---|---|
| Prong (thin) magnetic snap | Two flat prongs through slots, bent over a washer | Bag flaps, clutches, lined panels | Beginner |
| Sew-in magnetic snap | Fabric or leatherette ring stitched down | Soft unlined bags, garment leather | Beginner |
| Rivet-back / screw-back magnet | Set with a rivet post or machine screw | Heavy veg-tan, no-lining builds | Intermediate |
Tools and materials
- 14 mm or 18 mm prong magnetic snap set (two halves, two washers)
- Slot punch (approx. 2 x 8 mm) or a sharp round-nose chisel
- Poly cutting board and mallet
- Awl or scratch awl, ruler, silver pen
- Reinforcement leather or 0.6 mm chipboard for backing tabs
- Pliers with taped jaws for folding prongs
Step 1 — Mark from the closed position, not the edge
Assemble the bag dry, fold the flap where it will actually sit, then push an awl through the flap to mark the body panel. Measuring both halves separately from panel edges is the single most common cause of misalignment, because flaps almost never sit perfectly square once gussets are attached.
Step 2 — Add a reinforcement tab
Glue a 30 x 30 mm patch of 1.2–1.5 mm leather behind each snap position. On lined bags the tab hides between layers; on unlined bags use a matching leather patch as a design feature. Without a tab, a 1.4 mm chrome-tan flap will pull into an oval within a season.
Step 3 — Cut slots, never round holes
Prongs are rectangular. Round holes leave gaps that let the snap rotate and eventually saw through the leather. Cut two parallel slots using the washer as the template — place the washer, scribe both openings, then punch.
Step 4 — Set the washer and fold the prongs
Push prongs through, seat the washer on the back, then fold prongs outward, away from each other. Outward folds spread load across the washer; inward folds concentrate stress in the 3 mm strip between slots, the exact place that splits.
Step 5 — Test pull strength before assembly
Grip the flap and pull along the seam line 20 times. If the leather cups or the washer prints through the grain, you need a stiffer backing or a larger snap footprint. Fixing this before lining saves rebuilding the whole panel.
Choosing snap strength
| Snap diameter | Typical pull force | Suits |
|---|---|---|
| 10 mm | Light | Card cases, small pouches |
| 14 mm | Medium | Crossbody flaps, clutches |
| 18 mm | Strong | Tote flaps, satchels, briefcase-style bags |
Match finish to your other hardware — see our comparison of magnetic snaps vs metal snaps for handbags and magnetic closures vs turn locks before committing to a closure style.
Key takeaways
- Always mark the second half from the folded, closed flap position.
- Backing tab + washer on both halves is non-negotiable.
- Cut slots sized from the washer; fold prongs outward.
- Scale snap diameter to flap size, not to preference.
FAQ
Will magnetic snaps damage credit cards or phones?
Modern chip cards and phones are unaffected by these low-strength magnets. Older magnetic-stripe cards can degrade with prolonged direct contact, so keep the snap away from a card slot. Guidance on magnetic field exposure is published by the NIST.
Can I install a magnetic snap after the bag is lined?
Only a sew-in type. Prong and rivet-back versions need access to the back face, so they must go in before the lining closes.
Why does my flap pop open on its own?
Usually undersized snap or misalignment of more than 2 mm. A shear offset dramatically reduces the effective holding force.
Conclusion
A magnetic snap should be invisible, silent and permanent. Reinforce, mark from the fold, and fold prongs outward. More hardware installs in Leathercraft Guides & Tutorials.
Enjoyed this guide?
Browse more in Leathercraft Guides & Tutorials or share this article with another leather maker who'd find it useful.


