Installing Line 20 Snaps Without a Press: The Hand-Setter Guide
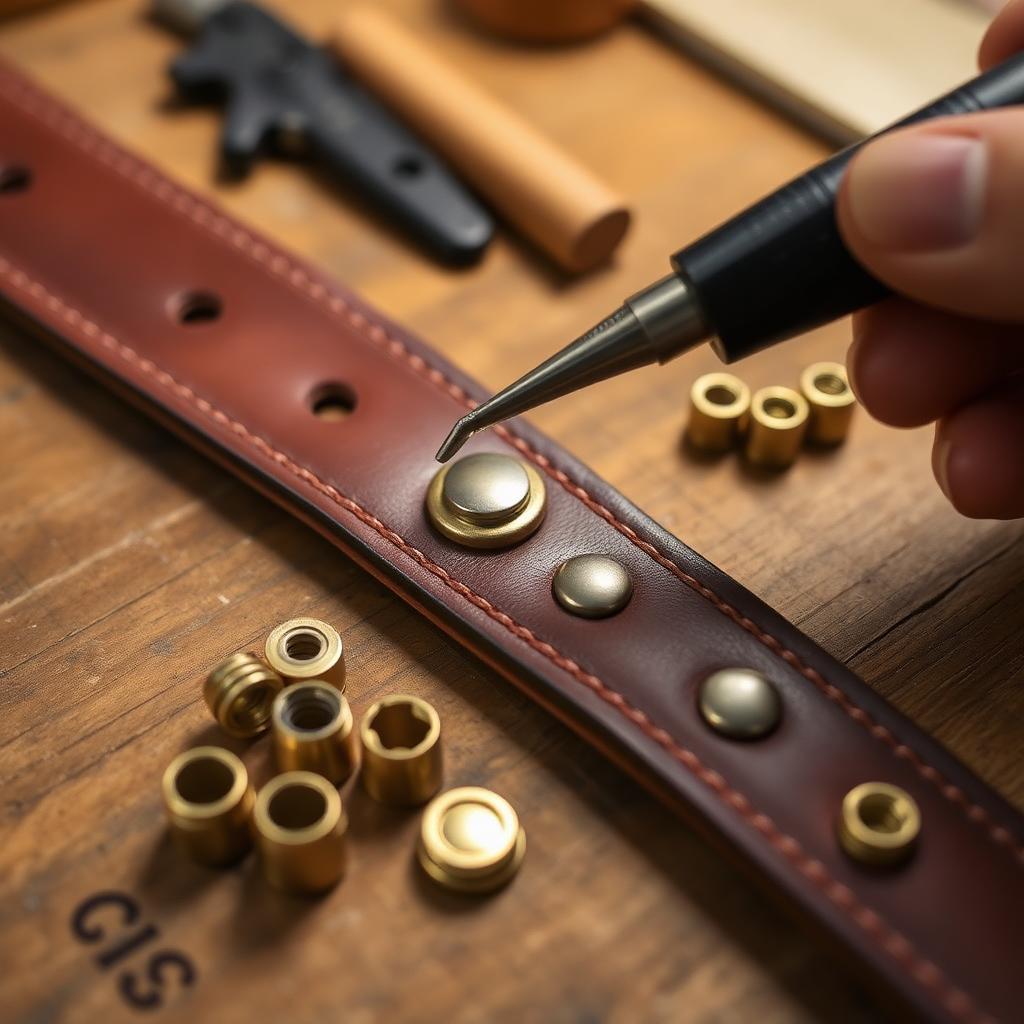
Line 20 snaps (also called "size 20" or "20-ligne") are the workhorse fastener for wallets, watch straps, key fobs, and light bag closures. They're easy to install by hand — but every leather forum is full of crooked, half-seated snaps. This guide covers the hand-setter method that produces press-quality results.
What is a Line 20 snap?
The "line" measurement refers to the cap diameter: Line 20 = roughly 12.5 mm (1/2"). A snap is four pieces:
- Cap — the decorative show-side head.
- Socket — the female half that pairs with the cap underneath.
- Stud — the male post on the opposite leather piece.
- Post — the back-side eyelet that anchors the stud.
You'll set two pairs per closure: cap+socket on one side, stud+post on the other.
Tools you actually need
- Line 20 hand setter (Tandy, Sam Browne, or Goldstar Tool sets are all ~$10–20).
- Anvil base — included in most kits; otherwise a small steel block.
- Hole punch, 3 mm (5/64").
- Mallet, 12–16 oz rawhide, poly, or wooden — not a steel hammer (it'll deform the cap).
- Awl or marker for layout.
Step 1: Mark and punch the hole
Mark the snap location with an awl. Use a 3 mm punch — the snap post should pass through with a snug fit. A hole larger than 3.5 mm is the most common reason snaps spin and fail.
For wallets, position the snap at least 8 mm from the edge to avoid splitting under stress.
Step 2: Set the cap and socket (show side)
- Drop the cap into the cup of the anvil base, decorative side down.
- Place the leather over the cap so the post pokes through the hole.
- Drop the socket over the post, opening facing up.
- Place the concave end of the setter on the post.
- Strike firmly with the mallet — 2–3 solid hits, perfectly vertical.
The post should mushroom inside the socket and lock everything tight. If you can wiggle the socket, hit it once more.
Step 3: Set the stud and post (back side)
- Drop the stud into the cup of the anvil (the male nub points up).
- Lay the opposite leather piece over it so the post passes through.
- Drop the post (eyelet) over the back side.
- Use the flat setter end (sometimes a different tool in the kit).
- Strike 2–3 times, perfectly vertical.
Test the snap immediately. It should click firmly closed and pull open with a satisfying snap — not a mushy slide.
Hand setter vs. press: when to upgrade
- Under 50 snaps/week: hand setter is fine. Results are indistinguishable.
- 50–200/week: a basic bench press (e.g. Tandy Pro Setter, ~$80) saves wrist fatigue.
- 200+/week or production: a Goldstar or Maxim die press ($200–400) is the right tool.
Five common failures (and the fix)
- Snap spins after setting. Hole too large. Use a smaller punch or set a washer behind the post.
- Cap is dented. Used a steel hammer or struck the cap instead of the setter. Replace with a mallet.
- Cap and socket separate after a few opens. Post didn't mushroom — usually under-struck. Use a heavier mallet or strike harder.
- Snap won't close. Cap and stud are misaligned (off by more than 1 mm). Re-mark with both pieces overlapped.
- Brass cracked. Cheap snap. Premium snaps from Fasnap or YKK are worth the small premium.
Choosing snap quality
Cheap snaps fail. The plating wears in months, the springs lose tension after a few hundred cycles, and the brass cracks under setting. For anything you intend to sell or use long-term, specify solid brass snaps (not plated zinc) — see our brass vs plated hardware guide for the full breakdown. For decorative variety, our rivets and fasteners guide covers when to use snaps vs. permanent rivets.
Key takeaways
- Use a 3 mm punch — not larger.
- Hand setter and mallet produce press-quality snaps.
- Strike vertically, 2–3 firm blows.
- Solid brass snaps outlast plated zinc by years.
- Test every snap immediately after setting.
FAQ
What's the difference between Line 20 and Line 24?
Cap diameter — Line 20 is ~12.5 mm, Line 24 is ~15 mm. Line 24 has a stronger spring and is preferred for jackets, gloves, and heavier closures.
Can I reuse a snap I removed?
No. Removing the post deforms it permanently. Always use new hardware.
Why does my snap close but feel weak?
Worn or low-tension spring inside the socket. Move to a higher-quality brand — Fasnap, YKK, and Prym snaps hold tension for thousands of cycles.
Conclusion
Snaps are one of the first hardware skills every leather maker should master — fast, satisfying, and high-impact for the wallet, watch strap, and small-goods world. Got a snap brand or technique you swear by? Drop it in the comments, and browse our full library of tutorials for more skill builders.
Enjoyed this guide?
Browse more in Leathercraft Guides & Tutorials or share this article with another leather maker who'd find it useful.


