Saddle Stitching Leather: The Complete Beginner Tutorial
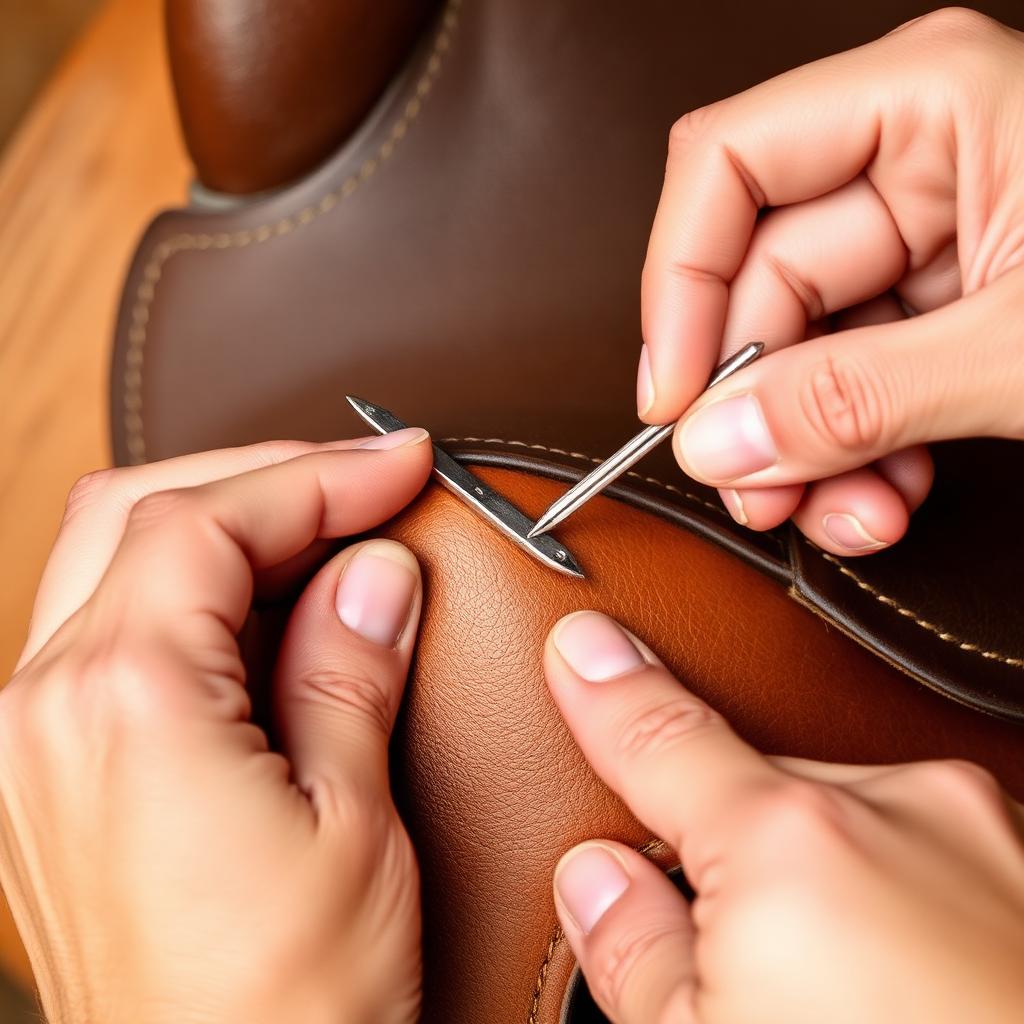
The saddle stitch is the seam that defines fine leatherwork — used by Hermès, JM Weston, and every traditional saddler for one reason: if one thread breaks, the other holds. Done right, a saddle stitch outlasts the leather it joins. This is the full beginner tutorial.
Why saddle stitch and not machine stitch?
A sewing machine uses a lockstitch — two threads that pull each other into a knot. If one thread breaks, the entire seam unravels stitch by stitch. The saddle stitch uses two needles passing through the same hole in opposite directions, locking each stitch independently. Break one thread mid-seam, and only that single stitch fails.
Tools and materials
- Two harness needles, John James #002 size 4 or 5 — blunt tips so they don't pierce the thread.
- Waxed thread — Ritza 25 (Tiger Thread) 0.6 mm or 0.8 mm for most projects. Linen for traditional work.
- Pricking iron or stitching chisel — 7 SPI (stitches per inch) for general work, 9 SPI for fine wallets, 5 SPI for heavy goods.
- Stitching pony or clam — holds the leather while you stitch.
- Awl with a diamond-shaped blade (for traditional pricking iron + awl method).
- Edge beveler, mallet, and a hard cutting surface (marble or HDPE).
Step 1: Mark and punch the stitch line
Use wing dividers to scribe a stitch line 3–4 mm from the edge. Set the pricking iron on the line and tap with a mallet — firmly, but only enough to mark the leather on chisel work, or fully through on punch chisels.
For thin leather (≤2 mm total), punch all the way through with stitching chisels. For thicker work, mark with a pricking iron and open each hole with an awl as you stitch.
Step 2: Cut thread and load needles
Cut thread 4× the seam length. Wax the thread by drawing it across a beeswax block 2–3 times (skip if using pre-waxed Ritza). Thread a needle on each end:
- Pass the thread through the eye.
- Pierce the thread itself with the needle about 1 cm down.
- Pull the loop back over the eye to lock the needle in place.
This "locked needle" prevents the thread from slipping mid-seam.
Step 3: The stitch motion
The saddle stitch is one motion repeated:
- Pass the right needle through the first hole, pulling thread halfway so both needles have equal length.
- Pass the right needle through the next hole, from the back side to the front.
- Critical: before pulling tight, pass the left needle through the same hole, going the opposite direction (front to back).
- To prevent the left needle from piercing the right thread, push the right thread to the top of the hole with your thumb as the left needle enters from the bottom.
- Pull both threads tight — left hand pulls left, right hand pulls right — with even tension.
- Repeat.
Step 4: Control your tension
Consistent tension is what separates amateur from professional stitching. Two rules:
- Pull each stitch with the same force every time. Not the hardest you can — about 70% of comfortable maximum.
- Always pull both threads in the same direction relative to the seam (e.g. both up-and-out at 45°). This makes every stitch lay at the same angle.
Step 5: Finish the seam
At the end, backstitch through the last 2 holes (right needle goes back through hole 2, then 1). Cut threads flush with the leather surface and burn the ends with a thread burner or carefully with a lighter — they should melt into a tiny bead inside the hole.
Step 6: Finish the edge
Bevel and burnish the edge after stitching — see our edge burnishing guide for the full method. Skiving overlapping seams flat before stitching produces a cleaner final shape; our skiving tutorial covers the technique.
Choosing thread size by project
- 0.45 mm: card slots, fine wallet interiors.
- 0.6 mm: wallets, small leather goods, watch straps.
- 0.8 mm: bags, belts, journals — the all-purpose choice.
- 1.0 mm: heavy belts, dog collars, sheaths.
Common beginner mistakes
- Stitches lean at random angles. Tension direction varies. Pick one angle and stick with it.
- Thread frays. Needle is piercing the thread when the second needle passes. Push the first thread up before passing the second.
- Front side looks good, back is messy. The awl is angled — keep it perpendicular or consistently angled at 22° (the traditional saddle stitch angle).
- Stitches loose. Holes are too large or tension is inconsistent. Use a finer chisel or smaller awl.
Key takeaways
- Two needles, one thread, opposite directions through each hole.
- Thread length = 4× seam length.
- Consistent tension and consistent pull direction = clean stitches.
- Use Ritza 25 thread and John James needles to start.
- Finish ends by burning into the hole.
FAQ
Pricking iron vs. stitching chisel — which should I buy?
For beginners, stitching chisels (which punch all the way through) are faster and more forgiving. Pricking irons + awl give finer, more elegant results but take months to master. Start with chisels.
How long does saddle stitching take?
Expect 60–90 stitches per hour as a beginner; experienced makers hit 150–200/hour. A wallet has ~200–300 stitches.
What thread color should I choose?
For first projects, choose a thread color a shade darker than the leather — mistakes are less visible. Contrast thread is beautiful but unforgiving.
Conclusion
The saddle stitch is one of those skills that looks impossible for the first ten stitches and inevitable after the first hundred. Stick with it on scrap leather for a week and you'll never go back to machine seams for fine goods. Share your first project in the comments, or explore the rest of our leathercraft tutorial library.
Enjoyed this guide?
Browse more in Leathercraft Guides & Tutorials or share this article with another leather maker who'd find it useful.


