Skiving Leather Edges: Tools, Techniques & Common Mistakes
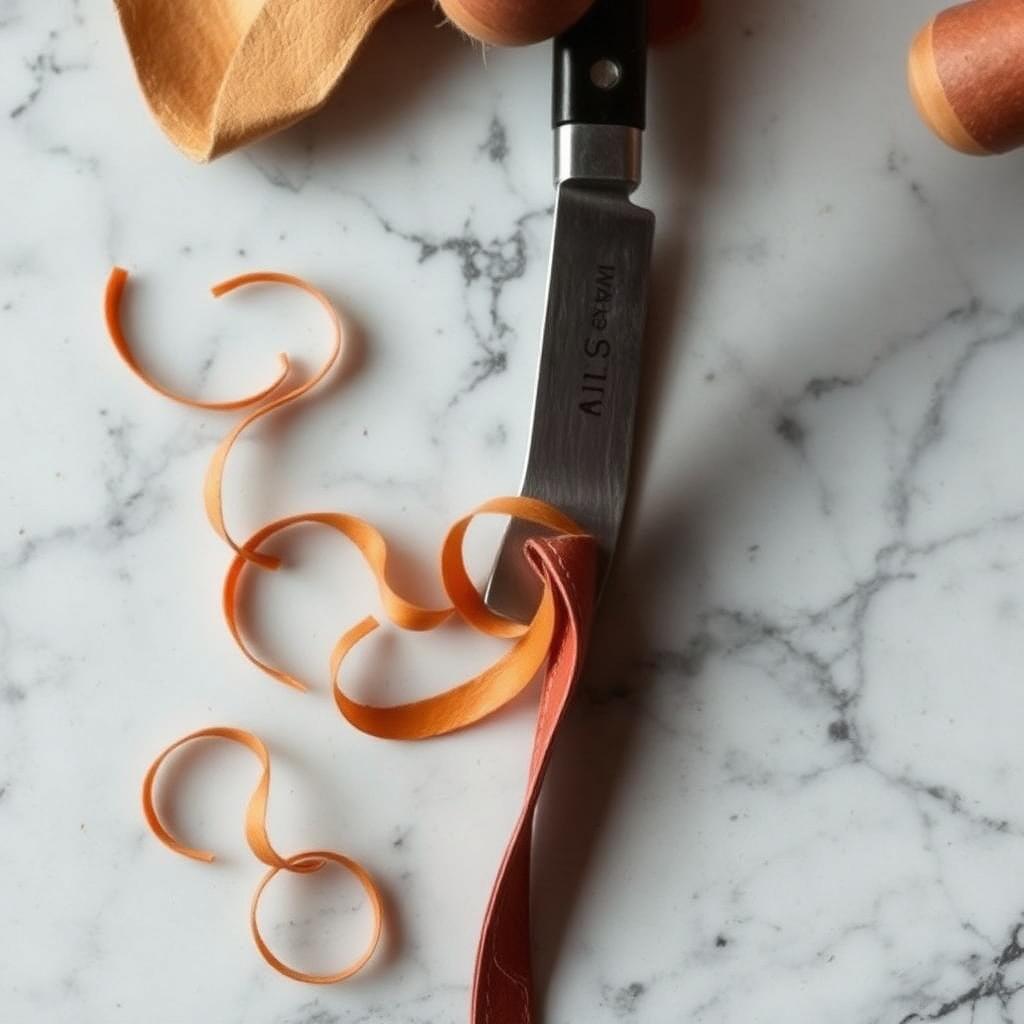
Skiving — thinning the back of a leather edge before folding or stitching — is the single skill that most separates polished work from clunky work. Folded edges sit flat. Overlapping seams disappear. Linings turn cleanly. This guide covers the three main hand tools, the technique, and the troubleshooting that no kit instructions include.
Why skive?
- Folded edges (wallet edges, bag handles): without skiving, the fold doubles thickness and creates a hard ridge.
- Overlapping seams: skiving the underside of each piece by ~50% creates a butt-flush joint.
- Linings: skiving the lining edge thin allows it to fold cleanly around the outer panel.
- Hardware attachment points: skiving where rivets or buckles sit prevents bulky lumps.
The three main hand tools
1. Safety beveler (Tandy / Dixon)
A holder with a replaceable razor blade. Cheap (~$10), forgiving, and ideal for beginners or long, gentle skives. Cuts are shallow but consistent. Replace blades often — a dull safety beveler tears more than it cuts.
2. French/English skiving knife (paring knife)
A flat-bladed knife with a long, angled edge. Pushed across the leather on a marble or glass slab. Produces the cleanest, longest skives — preferred by fine bookbinders and high-end makers. Requires regular sharpening and stropping.
3. Japanese leather knife (kiri / kawa-bocho)
Single-bevel, extremely sharp, made from laminated steel. The most versatile cutting tool in the workshop — does skiving, cutting, and edge work. Highest skill ceiling and the most satisfying once mastered.
The technique (French skiver method)
- Lay the leather flesh-side up on a hard, smooth surface — marble, granite, or thick glass.
- Position the blade flat against the leather, bevel down, at the angle you want to skive (typically 10–15°).
- Hold the leather firmly with your non-dominant hand, fingers behind the blade path.
- Push the knife forward in a smooth, slicing motion — let the edge do the work; don't press down.
- Lift after each pass and inspect. Repeat with light passes until you reach the target thickness.
The biggest beginner mistake is trying to skive in one heavy pass. Three light passes produce a smoother result than one aggressive one — every time.
How thin should you skive?
- Folded edge: reduce to ~30% of original thickness over a 10 mm band.
- Overlap seam: reduce each piece to 50% so the joint sums to original thickness.
- Lining: reduce to 0.4–0.6 mm in the last 5 mm.
- Hardware seat: reduce to leave the piece + hardware ≈ surrounding thickness.
Common problems and fixes
- Skive tears instead of slices. Blade is dull. Strop before every project; replace safety beveler blades every 30 minutes of use.
- Skive is uneven (thick patches). Inconsistent angle. Try a sharper bevel (closer to flat) and lighter pressure.
- Cut all the way through. Too aggressive. Work flesh-side up with the blade nearly parallel to the leather — 5–10° at most for thin leather.
- Edge curls up after skiving. Normal on chrome-tan; flatten by lightly hammering with a smooth mallet.
Sharpening: the non-optional skill
A sharp tool skives. A dull tool tears. Plan to:
- Strop on leather charged with green compound before every project — 20 passes per side.
- Hone on a 4000-grit waterstone weekly if you skive daily.
- Sharpen on a 1000-grit stone when the strop no longer restores cutting feel.
Resources like Leatherworker.net have detailed sharpening threads from professional saddlers worth bookmarking.
When to step up to a skiving machine
Bell-knife skivers (Fortuna, Camoga) are the production tool. They run $1,500–4,000 used and require setup time per skive type, but they're indispensable above ~30 hours/week of leather work. For everyone else, a well-stropped French knife matches the quality of a skiver — it's just slower.
Pair skiving with the rest of your finishing
Skiving sets up clean stitching and clean edges. Combine with our saddle stitch tutorial for the seam and the edge burnishing guide for the finish. For attaching hardware on skived sections, our copper rivet tutorial shows the load math.
Key takeaways
- Skive flesh-side up on a hard, smooth surface.
- Light, multiple passes beat one heavy pass.
- Safety beveler for beginners; French knife or Japanese knife for fine work.
- Strop every project — sharpness is everything.
- Match skive depth to purpose (fold, overlap, lining, hardware).
FAQ
Can I skive chrome-tanned leather as cleanly as veg-tan?
Almost. Chrome-tan is stretchier and tends to gum on the blade. Strop more often and chill the leather (a few minutes in the fridge) for tighter cuts.
What's the best beginner skiving tool?
A Tandy or Craft Sha safety beveler with a pack of replacement blades. Cheap, fast to learn, and forgiving on softer leathers.
Why does my skived edge look fuzzy?
The blade is tearing fibers rather than cutting them. Sharpen, strop, and slow your stroke.
Conclusion
Skiving feels intimidating until the first time you fold a perfectly skived edge and it lays flat without a ridge. From that moment, you'll skive everything. Got a favorite skiving tool? Share it in the comments, and check the rest of the leathercraft tutorials for the next skill to add.
Enjoyed this guide?
Browse more in Leathercraft Guides & Tutorials or share this article with another leather maker who'd find it useful.


