Stitching Chisels vs Pricking Irons: Which Should You Actually Buy?
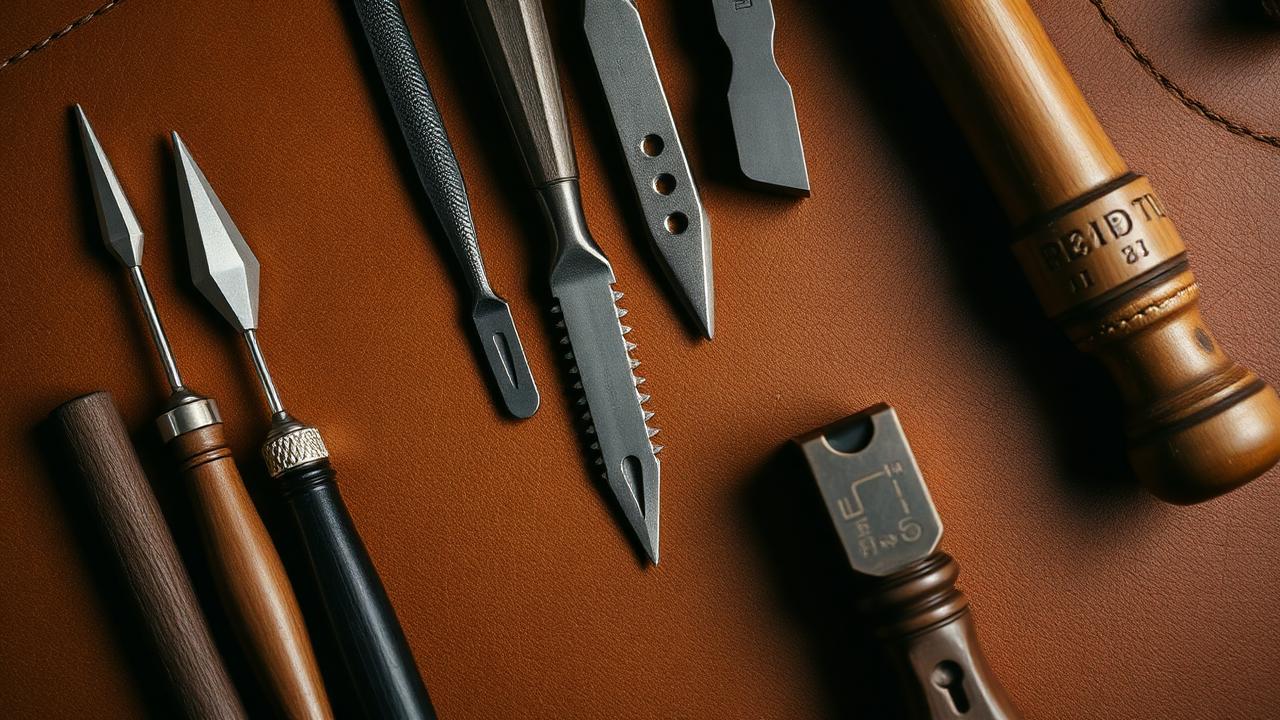
Every beginner buys one of these two tools first, and about half buy the wrong one for the work they intend to do. Stitching chisels and pricking irons look almost identical in a photograph. Functionally they are opposites: a chisel makes the hole, an iron only marks where the hole goes.
The core difference
| Stitching chisel | Pricking iron | |
|---|---|---|
| Function | Punches fully through the leather | Marks a shallow angled slit |
| Awl needed? | No | Yes — you open each mark with a diamond awl |
| Tooth shape | Long diamond blade | Short, sharp, wedge-like |
| Typical spacing | 2.7, 3.0, 3.85, 4.0 mm | Expressed in SPI (7, 9, 10, 11, 12) |
| Price range | $20–$80 per set | $90–$400+ per set |
| Learning curve | Low | High (awl control) |
| Stitch appearance | Good, consistent | Finest possible — tight, slanted, French look |
When a stitching chisel is the right buy
Chisels are the correct default for almost everyone: wallets, belts, key fobs, bag panels, anything up to about 4 mm total thickness. You punch, you stitch, you are done. Hole geometry is repeatable regardless of hand skill, which matters enormously when you are also learning to saddle stitch.
Buy a 4-prong and a 2-prong in the same spacing. The 2-prong handles curves and the last few holes; the 4-prong does the long runs. Skip the 10-prong — it is hard to keep straight and hard to pull free.
When a pricking iron earns its price
Irons are for fine goods: card holders, watch straps, high-end small leather goods where the stitch line is the product. Because the awl opens the hole at the moment of stitching, the leather closes back around the thread, giving that tight slanted line associated with French and Japanese makers. Irons also handle thick stacks (6 mm+) where a chisel would need brute force.
The catch: awl work takes months to become consistent. A crooked awl exit ruins the back face of the stitch line.
Choosing spacing
- 2.7 mm / 11–12 SPI — watch straps, card holders, fine wallets
- 3.0 mm / 9–10 SPI — wallets, pouches, small leather goods (the most versatile)
- 3.85–4.0 mm / 7 SPI — belts, bags, straps, sheaths
- 5.0 mm+ — heavy saddlery and harness work
Match spacing to thread size: 0.45 mm thread with 3 mm spacing, 0.6 mm with 3.85 mm, 0.8 mm with 5 mm. Mismatched thread is the reason many stitch lines look chunky.
Technique notes that apply to both
- Always punch or prick on a poly cutting board, never on granite or wood.
- Hold the tool vertical in both axes — check from the side and from the front.
- Overlap the last tooth into the previous hole to keep spacing continuous.
- Punch from the grain side every time so the clean entry shows on the visible face.
- Wax the teeth with beeswax or paraffin so the tool releases cleanly.
Budget guidance for 2026
Entry chisel sets from suppliers like Tandy Leather or generic Amazon brands are genuinely usable after a light sharpen. Mid-tier options (KS Blade, Crimson Hides) hold edges far longer. Pricking irons from established makers (Blanchard, Vergez Blanchard, KS Blade) sit in the $150–$400 range — worth it only once your awl work is dependable.
Key takeaways
- Chisels punch through; irons only mark and require an awl.
- Beginners should buy chisels — 3.0 mm or 3.85 mm, 4-prong plus 2-prong.
- Irons deliver the finest stitch line but demand months of awl practice.
- Match thread diameter to hole spacing.
- Poly board, vertical strike, grain-side entry — every time.
FAQ
Can I use a pricking iron as a chisel?
Only on thin leather, and you will blunt or bend the teeth. They are not hardened for through-punching.
Are cheap chisels worth it?
Yes for learning. Dress the teeth on 1000-grit sandpaper and they cut cleanly.
What spacing is best for belts?
3.85 mm or 4 mm with 0.6 mm thread. See our belt buckle sizing guide for the rest of the build.
Conclusion
Buy chisels first, learn stitch geometry, and only move to pricking irons when the tool — not your hand — becomes the limiting factor. More tool guides in Leathercraft Guides & Tutorials.
Enjoyed this guide?
Browse more in Leathercraft Guides & Tutorials or share this article with another leather maker who'd find it useful.


