Best Leather Glue: Contact Cement vs PVA vs Basting Tape Compared
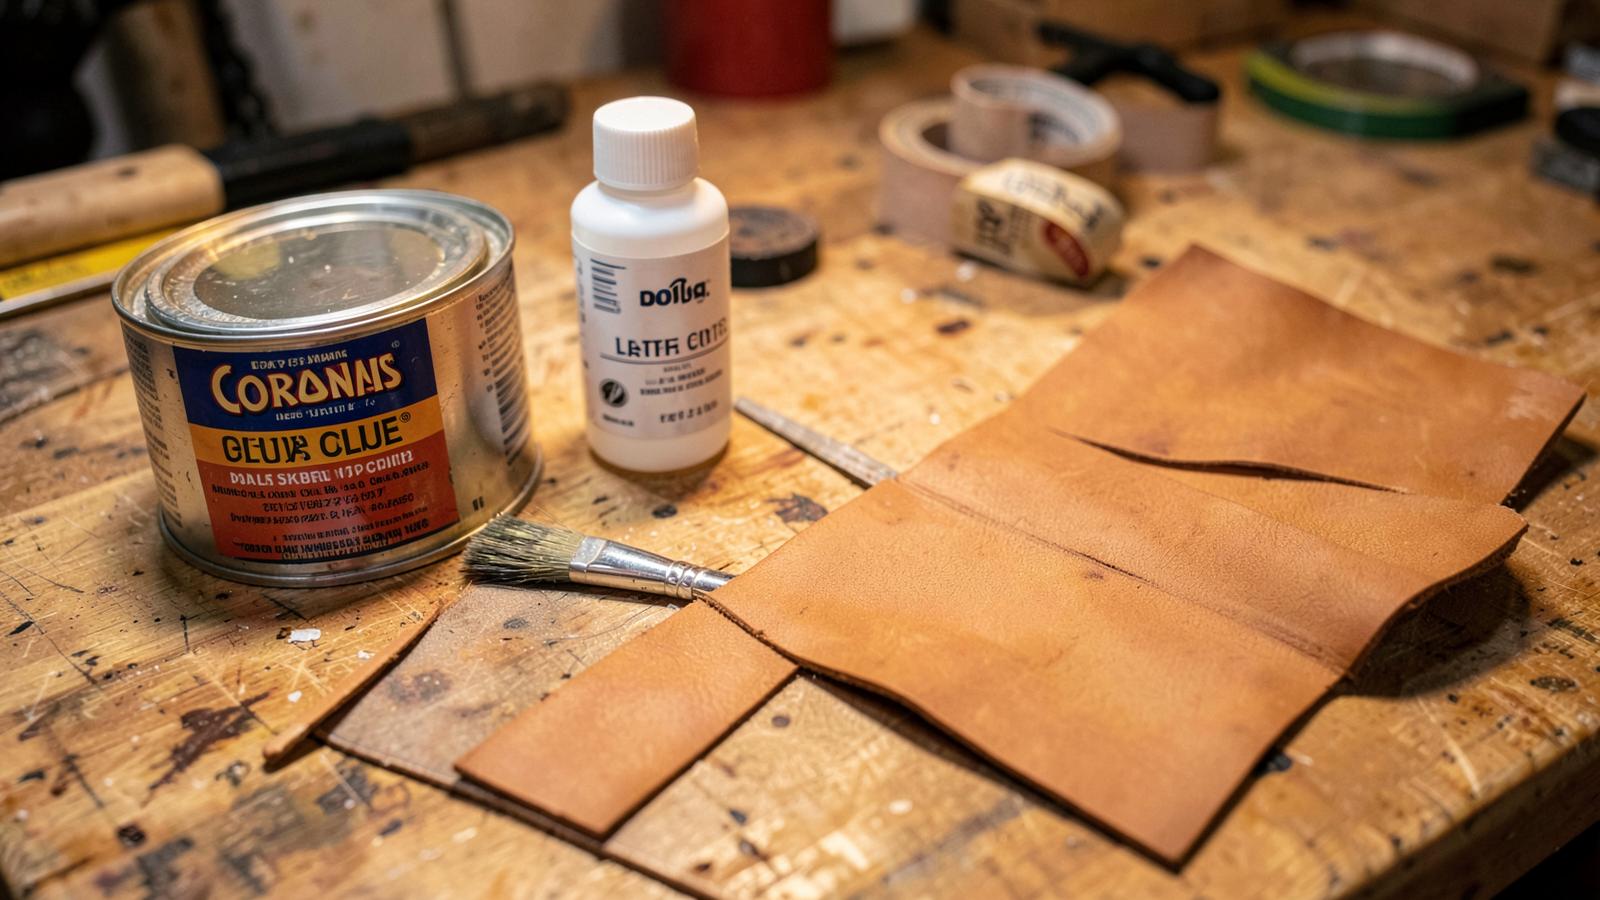
Leather adhesives are not there to replace stitching. Their job is holding two layers in perfect register so you can punch, stitch and burnish without shift. That means the right glue is the one with the right open time and the right edge behaviour — not simply the strongest.
Head-to-head comparison
| Contact cement | Water-based PVA type | Double-sided basting tape | |
|---|---|---|---|
| Bond strength | Very high | Medium-high | Low (temporary) |
| Repositionable | No | Yes, while wet | No, but peels off |
| Open time | Tack in 10–20 min, bonds instantly on contact | 5–15 min working time | Immediate |
| Flexibility when cured | Flexible, slight stiffness | Flexible | Soft |
| Sands and burnishes | Excellent | Good | Poor — gums abrasives |
| Fumes / ventilation | Solvent, needs airflow | Low odour | None |
| Best use | Edge-to-edge laminating, straps, belts | Linings, small assemblies, beginners | Zipper tapes, temporary basting |
Contact cement: the workshop standard
Apply a thin film to both faces, wait until touch-dry, then press. Bond is immediate and there is no clamping. Because it dries hard enough to sand, it is the only choice when two layers must burnish as a single edge — exactly what a belt or a bag strap needs. Solvent versions require ventilation; check the manufacturer's safety data sheet and the general guidance from OSHA on solvent handling.
Water-based glue: forgiving and low-odour
Slower and repositionable, which makes it ideal for lining panels and for anyone working in a small unventilated room. It stays slightly rubbery, so avoid it on edges you plan to sand aggressively.
Basting tape: for zippers only
Nothing beats tape for holding a zipper tape straight while you stitch. It is not structural and it clogs sandpaper and needles, so keep it out of the stitch line and away from edges. Pair it with our guide to hand-sewing a zipper into leather.
Application rules that decide the result
- Rough the surfaces: lightly scuff finished grain where glue lands — coated grain rejects adhesive.
- Thin, even film: two thin coats beat one thick one; thick glue squeezes into stitch holes.
- Keep glue 1 mm off the edge if you intend to dye the edge, so dye is not blocked.
- Roll, don't just press: a wallpaper seam roller applies far more pressure than thumbs.
- Let it cure before punching — fresh glue drags on chisels and blunts them.
Key takeaways
- Contact cement for anything that must burnish as one edge.
- Water-based for linings, indoors, and while learning.
- Tape for zippers and temporary positioning only.
- Glue positions; stitches and rivets carry the load.
FAQ
Can glue replace stitching on a bag strap?
No. Adhesive fails in peel under repeated flexing. Every load path needs stitching, rivets or both — see reinforcing strap anchors.
How do I remove glue squeeze-out?
Let it dry fully and rub it off with a crepe rubber block; solvents smear the residue into the grain.
Does glue stain veg-tan?
It can seal the surface and block dye. Glue after dyeing, or mask the area first. See dyeing vegetable-tanned leather.
Conclusion
Pick the adhesive by the job the joint has to do, not by advertised strength. More technique guides in Leathercraft Guides & Tutorials.
Enjoyed this guide?
Browse more in Leathercraft Guides & Tutorials or share this article with another leather maker who'd find it useful.


