How to Reinforce Strap Anchors on Leather Bags So They Never Tear Out
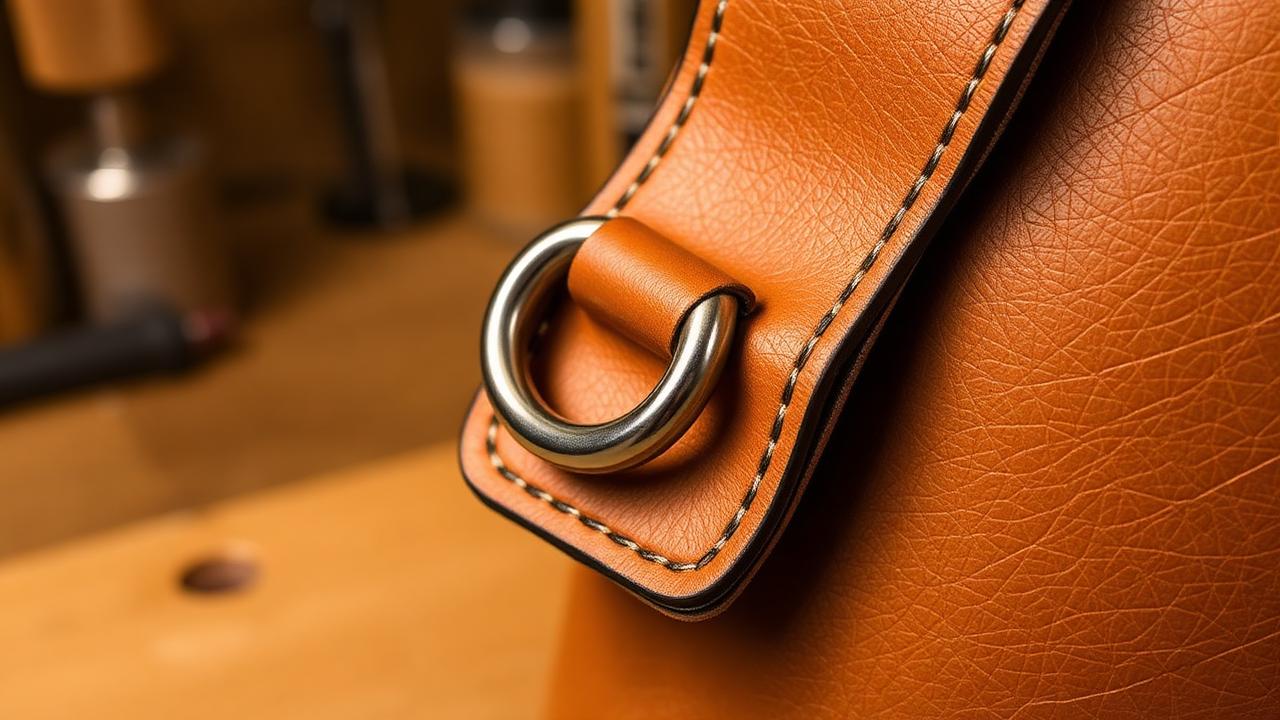
Look at any secondhand leather bag that has failed and the tear is almost always in the same place: a 15 mm patch of leather around the strap anchor. The strap is fine. The D-ring is fine. The body leather simply could not carry a point load applied thousands of times. Reinforcement fixes that, and it costs almost nothing to build in.
Why anchors fail
- Point loading: the whole bag weight concentrates on two rivet posts or a few stitches.
- Edge distance too small: a rivet closer than 6 mm to the edge tears out along the shortest fibre path.
- Single-layer body leather: 1.5 mm chrome-tan alone cannot take a shoulder load.
- Rivets in a straight line parallel to load: a perforated line acts like a tear-off strip.
Rule 1 — Always add a backing tab
The cheapest, most effective fix: a second piece of leather on the inside face, at least 50% larger than the anchor tab, glued and included in every rivet and stitch. It spreads load across a wider area of body leather. Use 1.5–2 mm veg-tan even on a chrome-tan bag; the firmer temper distributes better.
Rule 2 — Respect edge distance
| Fastener | Minimum edge distance | Minimum spacing between fasteners |
|---|---|---|
| 9 mm double cap rivet | 6 mm | 10 mm |
| 12 mm double cap rivet | 8 mm | 14 mm |
| Copper rivet + burr | 8 mm | 15 mm |
| Chicago screw | 8 mm | 14 mm |
| Saddle stitch line | 3–4 mm | 3–4 mm hole spacing |
These are working minimums for 2 mm+ leather with a backing tab. Thinner or softer leather needs more.
Rule 3 — Triangulate, don't line up
Two rivets side by side across the load path is far stronger than two rivets in line with it. Three rivets in a triangle is stronger again. If you must use a line, add a stitch box around it so the stitching carries load the rivets miss.
Rule 4 — Combine stitching with rivets
Rivets resist peel; stitching resists shear. Together they behave better than either alone. The classic professional detail is a box stitch with an X inside it around the anchor tab base — the X converts a rectangular patch into four triangles, none of which can rotate under load. Punch with a 3.85 mm chisel and stitch with 0.6 mm thread.
Rule 5 — Match the hardware to the load
A reinforced tab is wasted on a weak ring. Cast or forged D-rings and welded rings hold; stamped open-seam rings spread under sustained load. Our cast vs forged vs stamped D-rings comparison covers the metallurgy, and choosing D-rings for bag straps covers sizing. For the connector on the strap end, see bolt snaps vs trigger snap hooks.
Anchor styles compared
| Style | Load capacity | Best for |
|---|---|---|
| Folded tab + 2 rivets + backing | Good | Everyday totes, satchels |
| Folded tab + box-and-X stitch + backing | Very good | Messenger bags, briefcases |
| Full-length gusset-integrated tab | Excellent | Weekenders, duffels |
| Screw-plate D-ring anchor | Excellent | Heavy luggage, Western tack |
| Concho-mounted ring | Decorative only | Never load-bearing — see concho vs D-ring anchors |
Load-test before you ship
Hang the finished bag from its strap with three times the intended contents weight for 24 hours. Inspect the anchor for stretched holes, tilted rivet caps or a rippled backing tab. Industrial testing standards for luggage attachment strength are published under ASTM methods if you are building for retail.
Key takeaways
- Always add an interior backing tab larger than the anchor.
- Keep rivets at least 6–8 mm from any edge.
- Triangulate fasteners; never line them up with the load path.
- Combine rivets and a box-and-X stitch for the best result.
- Cast or forged rings only — stamped rings spread.
- Load test at 3× expected weight for 24 hours.
FAQ
Can I retrofit reinforcement to a finished bag?
Partly. You can add an interior backing tab and a second row of stitching, but you cannot re-place existing rivet holes. Set new fasteners at fresh locations at proper edge distance.
Rivets or Chicago screws for anchors?
Rivets. Chicago screws loosen under repeated dynamic load unless thread-locked — see Chicago screws vs rivets.
How thick should the backing tab be?
1.5–2 mm firm veg-tan is the sweet spot. Thicker adds bulk without meaningful strength gain.
Conclusion
An anchor is a structural joint, not a trim detail. Build the backing, respect edge distance, triangulate and stitch — and the bag will outlive its hardware. More construction tutorials in Leathercraft Guides & Tutorials.
Enjoyed this guide?
Browse more in Leathercraft Guides & Tutorials or share this article with another leather maker who'd find it useful.


