How to Attach Bag Feet and Base Studs (Screw-Back, Prong and Rivet Types)
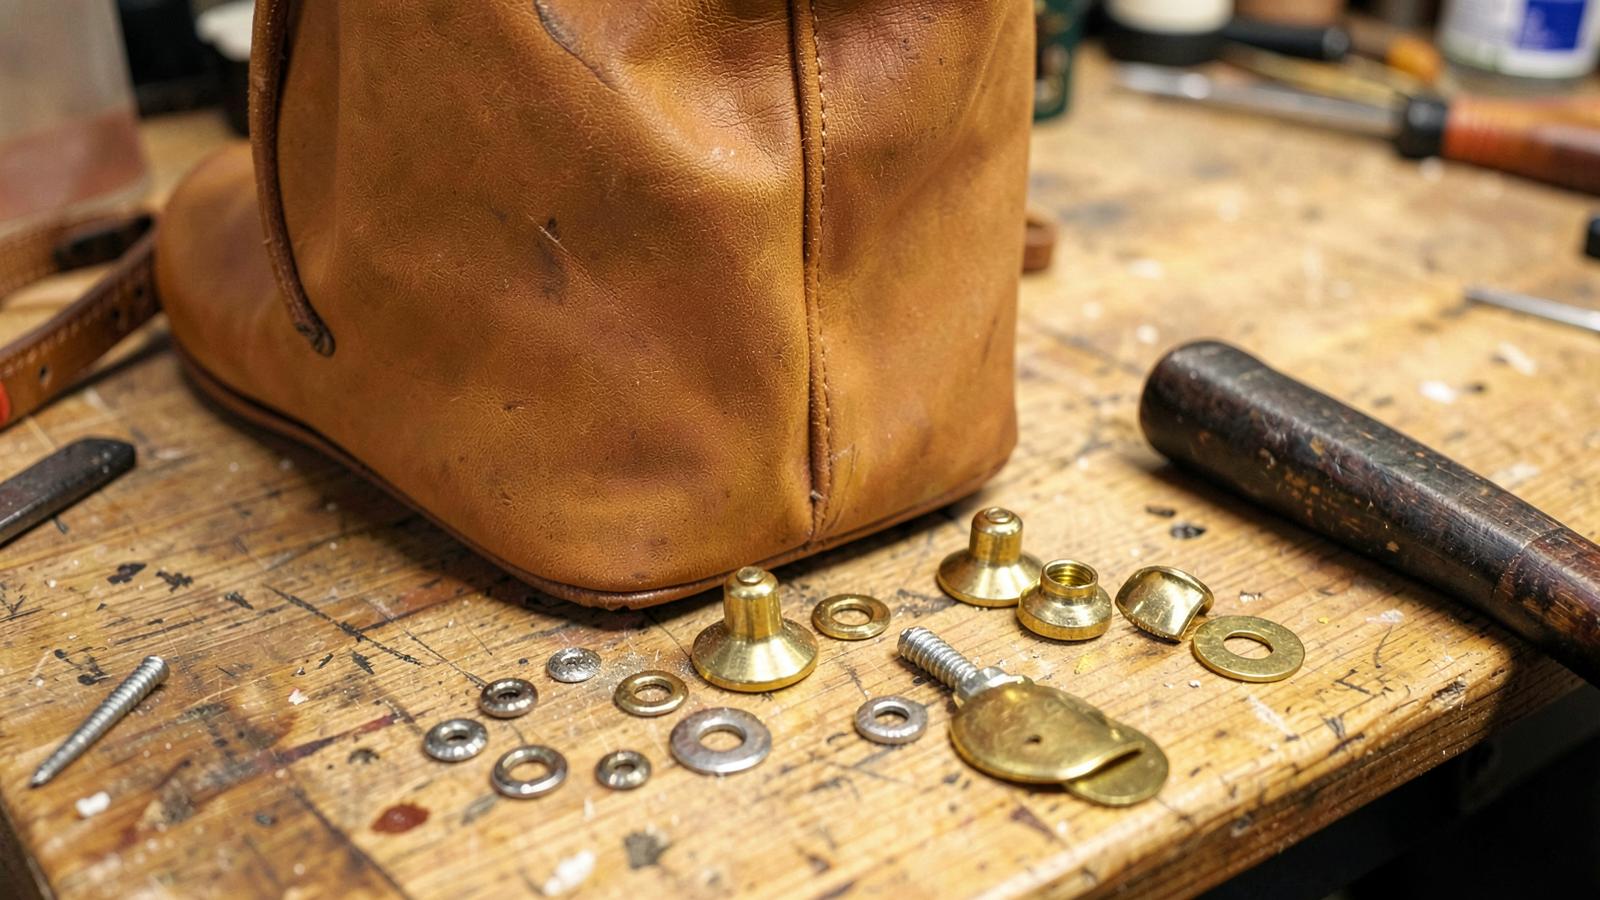
The base of a bag takes more abrasion than any other panel, and it takes it in five small spots — wherever the bag touches the ground. Feet move that wear onto replaceable metal. They also concentrate a point load onto thin leather, which is why unreinforced feet eventually punch straight through.
The three fixing types
| Type | How it fixes | Leather thickness | Security |
|---|---|---|---|
| Screw-back foot | Machine screw into the foot body, washer inside | 1.5–5 mm | Highest, serviceable |
| Prong / claw foot | Four prongs bent over a washer | 0.8–2 mm | Good, not removable |
| Rivet-back foot | Set like a double cap rivet | 1.2–3 mm | Good, permanent |
Placement geometry
- Count: four for bases under 300 mm long; five (four corners plus centre) for longer or heavier bases.
- Inset: 25–35 mm from each edge. Closer than 20 mm and the foot rolls over the edge and tears out.
- Squareness: mark diagonals and measure both — an unsquare set of feet makes the bag rock.
- Height: 8–12 mm feet for totes; taller looks agricultural and catches on kerbs.
Step-by-step installation
- Reinforce the base first. Glue a full-base stiffener — 1.5 mm veg-tan, 2 mm leather board, or HDPE sheet — before marking anything. Every foot then loads a stiff panel instead of a thin skin.
- Mark with a template. Cut a card rectangle to the inset dimension and mark all positions from it, so all four match exactly.
- Punch to the exact post size. 4 mm for standard screw posts, 3 mm for rivet-back. Use our hole punch size chart and never oversize.
- Fit a backing washer — always. A washer at least 3x the post diameter spreads the load; without it the post migrates through the leather.
- Tighten or set. Screw-backs get a drop of threadlocker; prongs fold outward over the washer; rivet-backs are set on a hard block with progressive taps.
- Load test. Fill the bag with 4–5 kg, set it down hard twenty times, then inspect the inside for washer printing.
Material and finish choices
| Material | Abrasion | Corrosion | Notes |
|---|---|---|---|
| Solid brass | Excellent | Patinas, no rust | Best all-round choice |
| Stainless steel | Excellent | Excellent | Ideal for wet climates |
| Plated zinc alloy | Poor | Plating wears through fast | Avoid on a wear surface |
Feet scrape on concrete, so they are the worst possible place for plating. Match finish to your other fittings using antique vs polished brass and the material argument in solid brass vs plated hardware. Corrosion data for copper alloys is published by the Copper Development Association.
Troubleshooting
| Symptom | Cause | Fix |
|---|---|---|
| Foot pulls into the base | No stiffener or washer too small | Full-base stiffener + larger washer |
| Bag rocks | Feet not square or uneven heights | Re-mark from a template |
| Screw loosens | No threadlocker | Blue threadlocker on reassembly |
| Foot spins | Hole oversized | Plug with a leather sliver and re-punch |
Key takeaways
- Reinforce the whole base before fitting any foot.
- Inset 25–35 mm; mark from one template for all positions.
- Washer on every foot, punched to exact post diameter.
- Solid brass or stainless only — feet are a wear surface.
FAQ
Can I add feet to a finished lined bag?
Only if you can reach inside to fit the washer. If the lining is sealed, unpick a section rather than skipping the washer.
How many feet does a tote need?
Four for most; five for bases over 300 mm or loads above 5 kg.
Do feet scratch floors?
Brass on hardwood can mark. Choose domed rather than flat-edged feet, or fit nylon-capped versions for indoor bags.
Conclusion
Feet are twenty minutes of work that add years of life to a bag base. Reinforce, template, washer, test. Keep building in Leathercraft Guides & Tutorials.
Enjoyed this guide?
Browse more in Leathercraft Guides & Tutorials or share this article with another leather maker who'd find it useful.


