How to Make a Leather Belt Step by Step (Buckle, Punching and Finish)
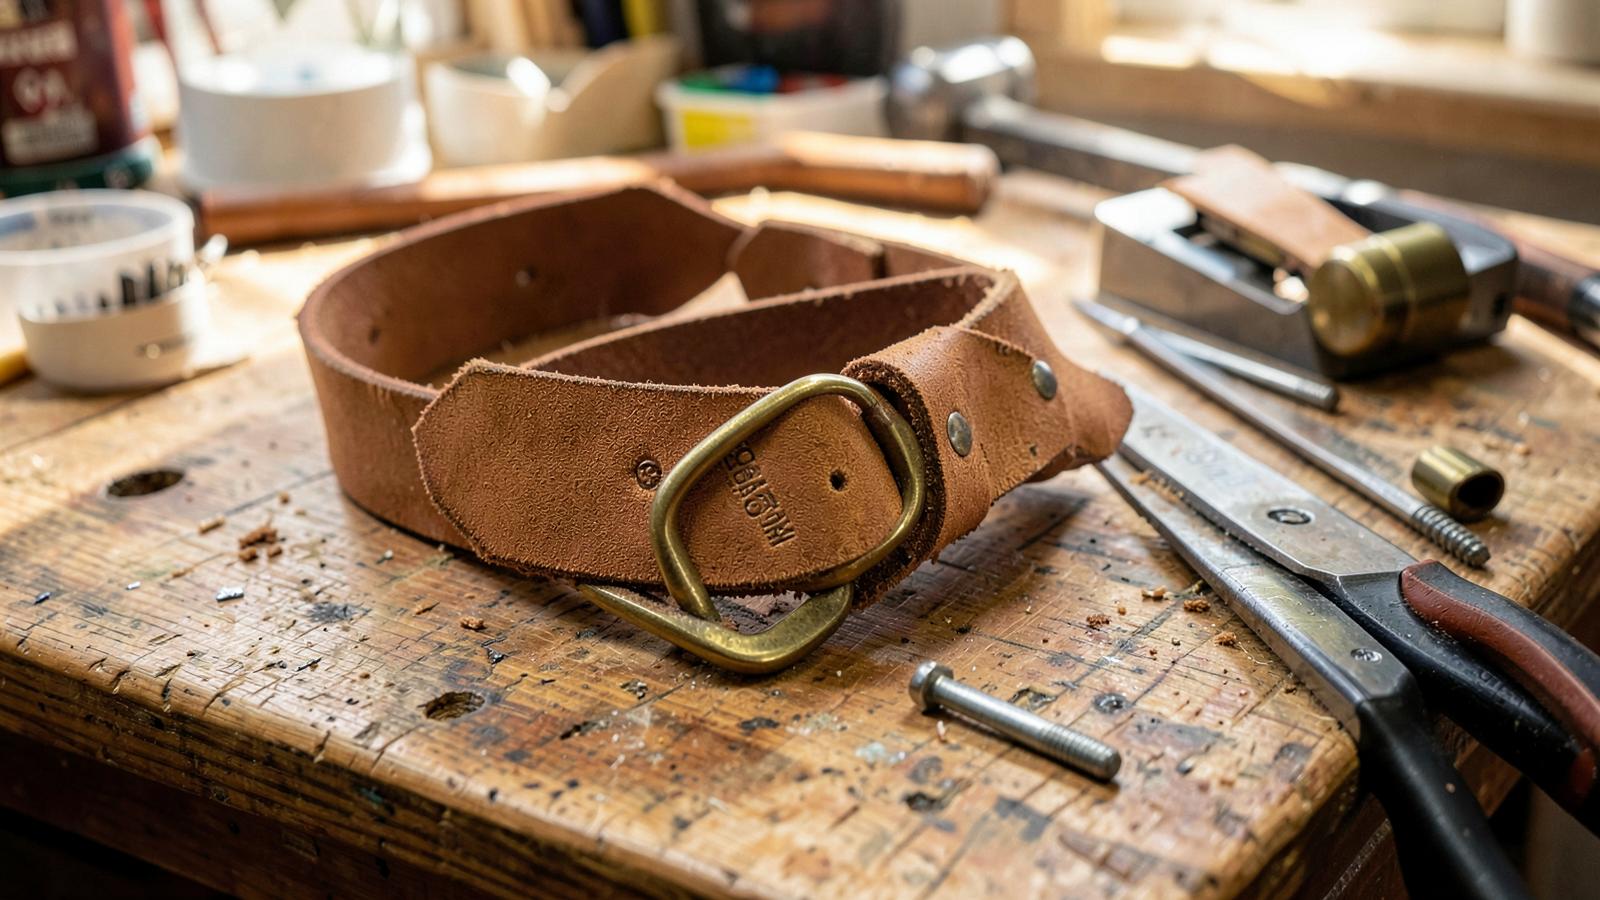
Belts are the most under-rated learning project in leathercraft. There is no lining, no gusset and no pattern to draft, yet you practise every fundamental: accurate sizing, buckle fitting, hole layout, riveting or screw fitting, and edge finishing that has nowhere to hide.
Materials and specifications
| Component | Recommendation | Why |
|---|---|---|
| Leather | Veg-tan or bridle, 3.2–4.0 mm (8–10 oz) | Thinner belts roll and curl in the loops |
| Width | 32 mm (1 1/4") dress, 38 mm (1 1/2") casual | Must match your trouser loops |
| Buckle | Solid brass or stainless, matching width | Plated zinc wears through at the bar |
| Fixing | 2–3 Chicago screws or double cap rivets | Screws allow buckle swaps |
| Holes | 4 mm oval or round punch | Larger holes distort under load |
Step 1 — Size the belt correctly
Measure an existing belt from the fold at the buckle bar to the hole you actually use — not your trouser size. Then cut the blank to that measurement plus 150 mm (about 6") for the billet and 75 mm (3") for the buckle fold. Cutting the strap 100 mm too short is the most common first-belt mistake.
Step 2 — Cut the tip and buckle end
Round or English-point the billet end with a strap-end punch for a clean symmetrical shape. Square off the buckle end, then punch the buckle tongue slot 75 mm from that end: a 3 mm x 20 mm slot centred on the strap, made with two round punches joined by a straight blade cut.
Step 3 — Bevel, dye and burnish before assembly
Finish edges while the strap is flat and unobstructed. Bevel both faces, dye if desired, then burnish with gum tragacanth or water. Doing this after the buckle is on makes clean work impossible — follow the method in our edge burnishing guide.
Step 4 — Fit the buckle
Fold the buckle end over the bar, mark two or three fixing points 12 mm apart, punch to match your Chicago screw or rivet post, and fix. Add a keeper loop cut 12 mm wide and long enough to wrap the doubled strap. For buckle style guidance see roller vs center bar buckles and how to choose belt buckle size.
Step 5 — Lay out the holes
Standard spacing is 25 mm (1") between holes, five holes total, with the centre hole at your measured length. Mark the centreline with a wing divider so holes never wander. Punch on a poly board with a sharp 4 mm punch; a dull punch tears rather than cuts.
| Belt use | Hole count | Spacing |
|---|---|---|
| Dress belt | 5 | 25 mm |
| Casual / jeans belt | 5–7 | 25 mm |
| Work / tool belt | 7–9 | 20–25 mm |
Step 6 — Condition and cure
A light coat of neutral conditioner, then hang the belt straight for 24 hours. Veg-tan darkens and forms its patina over the first months; a modest amount of oil now prevents cracking later. Background on vegetable tanning chemistry is published by the International Council of Tanners.
Key takeaways
- Measure from the buckle fold to your used hole, then add 225 mm total allowance.
- 3.2–4.0 mm leather or the belt will curl.
- Finish edges before the buckle goes on.
- Chicago screws let you change buckles for the belt's life.
FAQ
Rivets or Chicago screws for the buckle?
Rivets are permanent and slightly stronger; screws are serviceable. Compare both in Chicago screws vs rivets.
Should I line a belt?
Only if the leather is under 3 mm. A single thick strap is stronger than two thin glued layers.
Why do my punched holes look ragged?
Blunt punch, wrong cutting surface, or punching over glue. Strop the punch's inner bevel and punch on poly, never wood.
Conclusion
Build one belt to learn the fundamentals, then build a second to see how much you improved. Continue with our Leathercraft Guides & Tutorials.
Enjoyed this guide?
Browse more in Leathercraft Guides & Tutorials or share this article with another leather maker who'd find it useful.


