How to Make a Leather Watch Strap (Sizing, Spring Bars and Buckle Fitting)
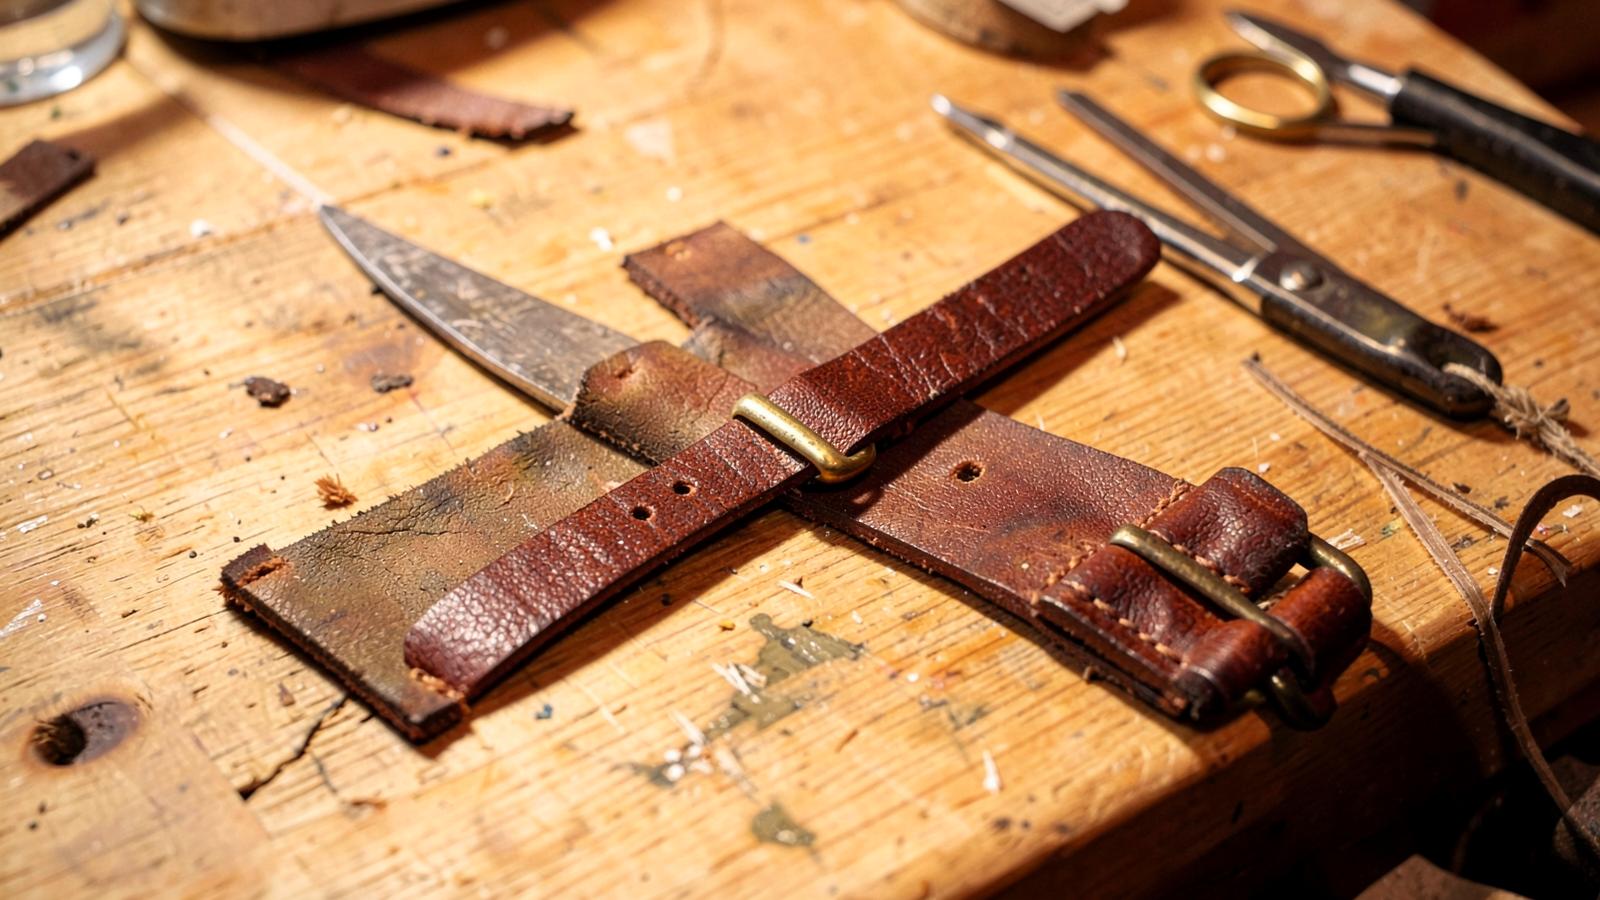
Watch straps are the highest-precision small project in leathercraft. There is almost no material, the hardware is tiny, and the tolerances are tight enough that a 0.5 mm error at the lug is instantly visible. That is exactly why they are such good practice.
Specifications at a glance
| Dimension | Standard | Notes |
|---|---|---|
| Lug width | 18, 20, 22 mm most common | Measure between lugs with calipers |
| Buckle width | Lug width minus 2–4 mm | 20 mm lug → 16 or 18 mm buckle |
| Total thickness | 3.0–4.0 mm at lug, tapering to 2.0 mm | Usually lined: 2 mm top + 1.2 mm lining |
| Long side (12 o'clock) | 75–80 mm | Includes buckle fold |
| Short side (6 o'clock) | 115–125 mm | Punched with holes |
| Hole spacing | 8 mm, 5–7 holes | 2 mm round punch |
Step 1 — Choose leather that holds a taper
Shell cordovan, bridle, or a firm vegetable-tanned calf all work. Avoid soft garment leather; it collapses at the spring bar tunnel. Pair a 2.0 mm top layer with a 1.0–1.2 mm lining, then skive the lining thinner toward the tip.
Step 2 — Cut the taper
Draw the strap as a trapezoid: full lug width at the watch end, tapering to buckle width over the first 45–55 mm, then parallel to the tip. A consistent taper on both halves is what separates a handmade strap from a homemade one.
Step 3 — Form the spring bar tunnel
Skive a 12 mm section 25 mm from the watch end down to about half thickness, fold it back on itself around a 1.8 mm spring bar (use the bar as a mandrel), glue and stitch. The tunnel must be loose enough for the bar to sit freely but tight enough that it cannot rotate. Dampening the fold line slightly makes a crisper crease.
Step 4 — Glue, stitch and finish
Glue the lining with contact cement — see contact cement vs PVA vs tape — then mark the stitch line 2 mm from the edge with a wing divider and punch with a 2.7 mm pitch chisel. Fine pitch matters at this scale; a 4 mm pitch looks agricultural on an 18 mm strap. Follow the technique in our saddle stitch guide.
Step 5 — Fit buckle, keeper and holes
Punch a 2 x 10 mm slot for the buckle tongue about 15 mm from the folded end, fold the leather over the buckle bar, and close it with a single small stitch line or one 6 mm double cap rivet. Cut the keeper 8–10 mm wide and long enough to wrap the doubled strap plus 2 mm. Punch the billet holes at 8 mm spacing with the centre hole at your wrist measurement plus 8 mm.
Step 6 — Burnish the edges
Straps live against skin, so edges must be sealed. Bevel, sand to 800 grit, then burnish with gum tragacanth — the full sequence is in our edge burnishing guide. Alternatively paint the edges in three thin coats for a dressier finish.
Key takeaways
- Measure lug width with calipers, then size the buckle 2–4 mm narrower.
- Line the strap and skive the taper — never use one thick piece.
- Use the spring bar itself as the mandrel for the tunnel.
- Fine 2.7 mm stitch pitch keeps the scale right.
FAQ
Which side gets the buckle?
The 12 o'clock (upper) lug, so the buckle sits on the underside of the wrist below the watch.
Should I use spring bars or quick-release bars?
Quick-release bars need the same tunnel dimensions and let you swap straps without a tool. Watch case and bar dimensional conventions are described in ISO horology standards.
Can I use bag hardware for the buckle?
Only small-scale versions. A standard belt buckle is far too heavy — see choosing buckle size for the proportion logic.
Conclusion
Build one strap for a watch you actually wear; you will spot every flaw daily and improve fast. More projects in Leathercraft Guides & Tutorials.
Enjoyed this guide?
Browse more in Leathercraft Guides & Tutorials or share this article with another leather maker who'd find it useful.


