How to Add a Zipper Pocket to a Leather Bag (Welt and Patch Methods)
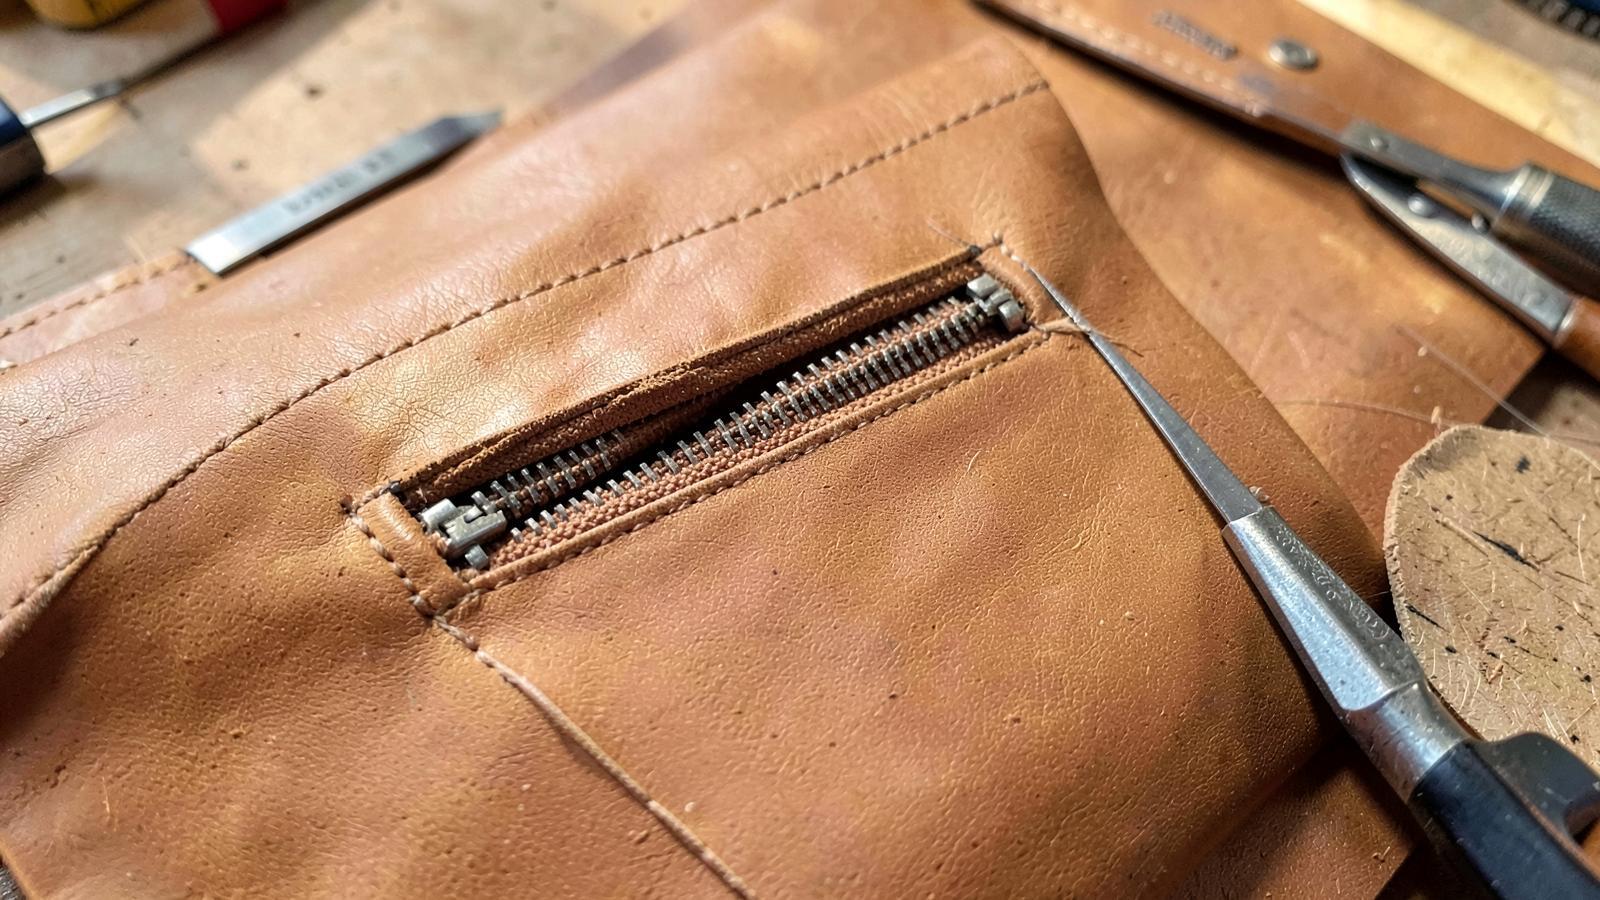
There are two honest ways to put a zipper into a leather panel: a welt pocket, where the zipper sits inside a cut window, and a patch pocket, where the zipper joins two pieces at an edge. The welt looks refined and hides the tape; the patch is simpler and stronger. Both fail in the same place — the corners.
Which method for which bag
| Welt (window) pocket | Patch (edge) pocket | |
|---|---|---|
| Appearance | Flush, tape hidden | Visible tape or leather facing |
| Difficulty | Intermediate | Beginner |
| Strength | Needs corner reinforcement | Very strong |
| Best on | Bag exteriors, wallet interiors | Linings, outer utility pockets |
| Zipper type | #3 or #5 coil / reverse coil | #5 metal or coil |
Sizing the window
- Length: zipper opening length minus 6 mm, so the stops hide under the leather.
- Height: chain width plus 4 mm — typically 8 mm for #3, 10 mm for #5.
- Slider clearance: add 12 mm beyond the closed slider position so the pull can park outside the window.
Unsure which zipper size to use? See our #3, #5, #8 and #10 zipper size guide and reverse coil vs standard coil.
Welt pocket, step by step
- Mark the window with a wing divider and silver pen on the back face, squared to the panel with a set square.
- Skive the window edges to about half thickness for 8 mm all round. Unskived leather makes a raised ridge round the zipper — the giveaway of a rushed pocket.
- Cut the window with a straight blade against a steel ruler; finish the corners with a 2 mm round punch to stop tearing.
- Baste the zipper with double-sided tape, centred and parallel. Tape holds the tape straight far better than clips.
- Stitch 2 mm from the window edge all round; punch holes through both leather and zipper tape at once.
- Add the pocket bag — a folded lining or leather pouch stitched to the zipper tape behind the panel, 5 mm smaller than the panel on every side.
Patch pocket, step by step
- Skive the top edges of both leather pieces by 0.5 mm.
- Tape one piece to each zipper tape, leaving a 2–3 mm gap either side of the chain.
- Stitch each side 2 mm from the folded edge.
- Close the sides and bottom, then reinforce both top corners with a bar tack or a 6 mm rivet.
Reinforcing the corners
Corners carry every load applied when someone yanks the pull. Options, strongest first: a leather corner tab stitched through, a bar tack of 4–6 stitches, or a 6 mm double cap rivet. On exterior bag pockets use two of the three. Rivet selection is covered in rapid vs double cap rivets.
Troubleshooting
| Symptom | Cause | Fix |
|---|---|---|
| Window gapes open | Height cut too tall | Chain width + 4 mm, no more |
| Zipper bows / waves | Basted crooked or stretched | Tape flat, punch through both layers together |
| Ridge round the window | No skiving | Skive 8 mm border to half thickness |
| Corner split after use | No punch at corner, no reinforcement | 2 mm corner punch + bar tack |
| Slider jams at the end | Insufficient clearance | Add 12 mm parking space |
Key takeaways
- Window height = chain width + 4 mm. Length = opening minus 6 mm.
- Skive the border before cutting the window.
- Baste with tape, never clips.
- Reinforce both corners; they are the only failure point.
FAQ
Can I add a pocket to a finished bag?
A patch pocket, yes. A welt window needs access to the back face, so it must be built before lining.
Metal or coil zipper for pockets?
Coil bends smoothly around curves and lies flatter; metal is stiffer but looks more premium. Compare in coil vs metal vs Vislon. YKK publishes chain specifications on its corporate site.
Do I need a sewing machine?
No — hand stitching is stronger. See hand-sewing a zipper into leather.
Conclusion
Practise one welt pocket on scrap before you cut a finished panel; the second one is always dramatically better. More builds in Leathercraft Guides & Tutorials.
Enjoyed this guide?
Browse more in Leathercraft Guides & Tutorials or share this article with another leather maker who'd find it useful.


