Make a Leather Key Fob: The Perfect Beginner Hardware Project
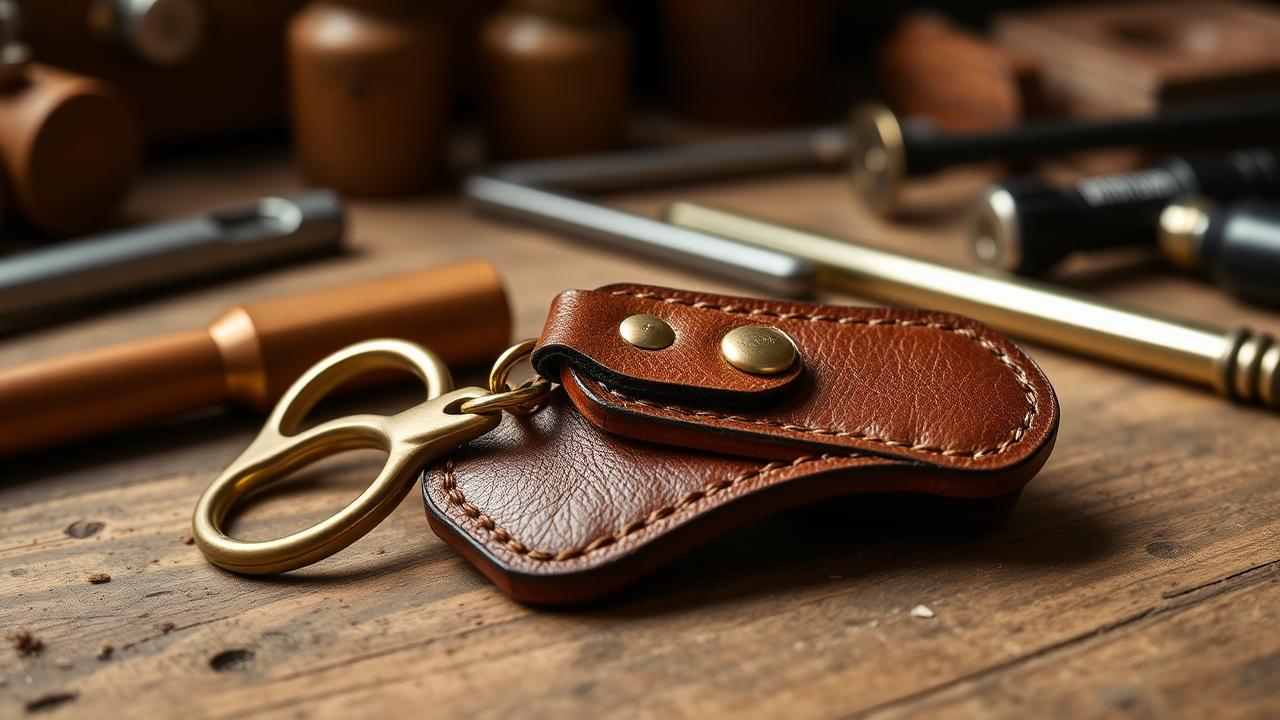
If you want a project that teaches cutting, edge work, hole punching, stitching and hardware setting in under an hour, it is the key fob. It uses about 30 cm² of leather, costs a few dollars in hardware, and the failure cost is near zero — which is exactly why it is the best first build.
Materials
- Vegetable-tanned leather, 2.5–3.5 mm (6–8 oz), strip 130 × 25 mm
- One solid brass swivel snap hook, 20 mm (3/4") gate — see swivel vs trigger hooks
- One double cap rivet, medium post (8–9 mm) — or two for extra security
- Optional: 0.6 mm waxed thread and a 3.85 mm stitching chisel
- Edge beveller, burnishing tool, dye and finish
Step 1 — Cut the strap
Cut 130 mm long by 25 mm wide with a strap cutter or steel rule and rotary knife. Round both ends with a round punch or a coin traced with an awl — square ends on a folded fob look unfinished. Keep the width consistent to within 0.5 mm; the fold doubles any error.
Step 2 — Skive the fold zone
Fold the strap in half and note the crease. Skive the flesh side about 20 mm either side of the crease down to roughly half thickness so the fold sits flat around the hook. Our skiving guide covers blade angle and safety.
Step 3 — Dye and burnish before assembly
This is the order beginners usually get wrong. Dye the whole strap, let it dry, bevel all four edges, then burnish with water and gum tragacanth. Doing edge work after the rivet is set means working around hardware in a tight space. See the burnishing tutorial for the technique.
Step 4 — Punch the rivet hole
Thread the swivel hook onto the strap, fold, and align the ends exactly. Mark 12 mm from the cut ends and punch a single hole through both layers with a punch matching your rivet post (usually 3 mm / #1). Punch both layers together while aligned — punching separately guarantees misalignment.
Step 5 — Set the rivet
| Leather stack | Rivet post length | Cap size |
|---|---|---|
| 4–5 mm (2 layers of 6 oz) | 8 mm | 9 mm double cap |
| 5–7 mm (2 layers of 8 oz) | 10 mm | 9–12 mm double cap |
| 7 mm+ (with a reinforcing tab) | 12 mm | 12 mm double cap |
Too long a post bends over; too short and the cap pops off in a week. Full method in our double cap rivet tutorial, and the choice between fastener types in rapid rivets vs double cap rivets.
Step 6 — Optional stitch line
A box stitch or a simple line of saddle stitching either side of the rivet turns a decent fob into a sellable one. Punch with a 3.85 mm chisel through both layers, stitch with 0.6 mm thread, and backstitch two holes at each end.
Hardware quality matters more than you think
A key fob lives in a pocket and gets pulled hard hundreds of times a month. Cast solid brass or stainless swivel hooks hold up; die-cast zinc hooks with a brass coating snap at the gate spring. Confirm the metal spec with the supplier — Buckleguy and Weaver Leather Supply both publish alloy details. Our solid brass vs plated hardware guide explains how to tell them apart.
Key takeaways
- 130 × 25 mm strap in 6–8 oz veg-tan is the reliable starting size.
- Skive the fold zone so the leather wraps the hook flat.
- Dye, bevel and burnish before setting hardware.
- Punch both layers together, aligned.
- Buy solid brass or stainless hooks — plated zinc fails at the gate.
FAQ
Can I use chrome-tanned leather?
Yes, but it will not burnish well. Fold the edge or use edge paint instead.
Do I need a rivet press?
No. A setter, an anvil and a 16 oz mallet are enough for a two-layer fob.
What size swivel hook fits a 25 mm strap?
A 20 mm (3/4") gate. A 25 mm hook on a 25 mm strap leaves no fold allowance.
Conclusion
Make three fobs before you attempt a wallet. Every skill transfers. Find the next build in Leathercraft Guides & Tutorials.
Enjoyed this guide?
Browse more in Leathercraft Guides & Tutorials or share this article with another leather maker who'd find it useful.


