How to Make a Leather Dog Collar: Hardware, Sizing and a Full Step-by-Step
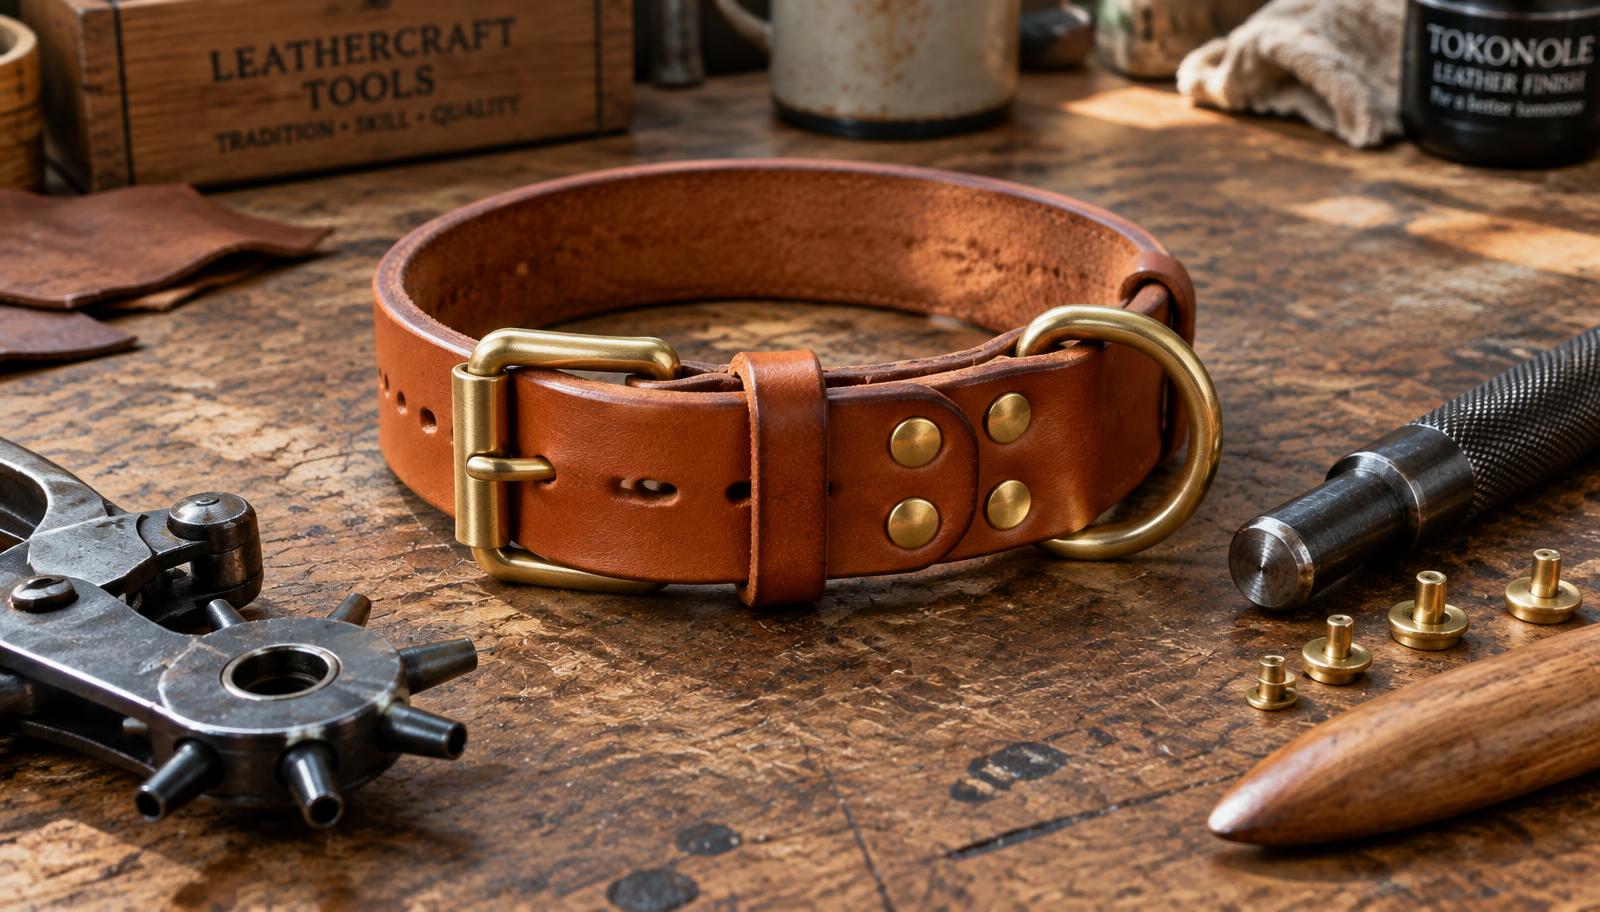
A leather dog collar is the project where hardware choice matters more than anywhere else in leathercraft: the buckle, D-ring and rivets are the only things standing between the collar and a lost dog. This guide covers proper neck sizing, hardware selection for real loads, and a full build in nine gauge-and-cut steps.
Size the collar first
Measure the dog's neck snugly with a soft tape, then add two fingers of slack (about 5 cm for medium and large dogs, 3 cm for small). That total is the collar length measured from the buckle's tongue to the middle hole.
| Dog | Neck | Collar length | Width | Leather thickness |
|---|---|---|---|---|
| Small (terrier, dachshund) | 25–33 cm | 30–38 cm | 16 mm | 2.5–3 mm (6–7 oz) |
| Medium (beagle, border collie) | 33–43 cm | 38–48 cm | 20–25 mm | 3–3.5 mm (7–8 oz) |
| Large (labrador, shepherd) | 43–55 cm | 48–60 cm | 25 mm | 3.5–4 mm (8–9 oz) |
| Very large (mastiff-type) | 55 cm+ | 60–70 cm | 32–38 mm | 4–4.5 mm (9–10 oz) |
Never size a collar by breed charts alone — two labs can differ by 10 cm of neck. The tape measurement wins every time.
Hardware: the load path
When a dog lunges, the force runs: leash clip → D-ring → rivets → strap → buckle. Every element must be rated for the whole load.
- Buckle: a single-pin solid brass roller buckle, sized to the strap width. Roller buckles reduce tongue wear on frequently adjusted collars. Sizing logic is identical to belts — see how to choose a buckle size.
- D-ring: cast brass only. The difference matters more here than anywhere: cast vs forged vs stamped D-rings explains why stamped rings are the failure point in cheap collars. For sizing and load ratings, see our D-ring guide.
- Fasteners: two copper rivets and burrs, or two Chicago screws if the owner wants hardware they can swap. The trade-offs are covered in Chicago screws vs rivets; for collars we default to rivets because a dog cannot unscrew them.
- Optional: a name-tag ring (smaller welded ring) set 40 mm from the D-ring so tags do not abrade the buckle.
Tools and materials
- Bridle or heavy veg-tan leather, thickness from the chart, cut 25 mm longer than the collar length
- Brass roller buckle, cast D-ring (and optional tag ring) to match strap width
- Two copper rivets, burrs, setting die — process in setting copper rivets by hand
- Rotary punch, drive punch 3 mm (holes), strap end punch (rounded)
- Edge beveler, gum tragacanth or tokonole, wooden slicker, edge dye
- Contact cement, cutting mat, steel ruler, wing divider, scratch awl
Step 1 — Cut and shape the strap
Cut the strap dead straight and punch a rounded tail end. Mark a diagonal cut 50 mm from the buckle end — this is the return lip that folds behind the buckle.
Step 2 — Bevel and burnish every edge
Bevel both edges along the full length, then dye and burnish before any hardware goes on. Once the buckle is riveted in place, the fold area becomes unreachable by a slicker. The full process is in the edge burnishing guide.
Step 3 — Punch the adjustment holes
With the wing divider set to 8 mm from the edge, punch a line of 3 mm holes starting 25 mm from the tail and spaced exactly 25 mm apart. Punch at least five holes — enough adjustment for a winter coat or a young dog still filling out.
Step 4 — Fit the buckle
- Thread the buckle-end of the strap through the buckle frame, folding the 50 mm lip back over the tongue bar.
- Punch two 2 mm holes through the doubled leather, 15 mm from the fold and 20 mm apart.
- Set a copper rivet in each hole. Pull test: stand on the folded end and yank the strap — the fold must not slide.
Step 5 — Set the D-ring and stitch the fold
Slide the cast D-ring onto the strap before the final fold, so it sits immediately against the buckle's frame on the standing side. Then set it the same way as the buckle lip: fold, punch, rivet. For maximum security on strong dogs, add a saddle stitch through the fold as well — the technique is in our saddle stitching tutorial.
Step 6 — Crease and finish
Crease a decorative line 4 mm from each edge with a heated crease edge or a wing divider run hard along the strap. This stiffens the edges and hides minor bevel irregularities. Finish with a thin coat of leather balm — but keep conditioner off the hole line, where softened leather stretches fastest.
Safety notes
- No collar is a tie-out. Even a perfectly built collar should not anchor a dog unattended; use a harness or proper tie-out hardware for that.
- Inspect monthly. Check the D-ring for elongation, the rivets for rotation, and the leather at the fold — these are the three real failure points.
- Two-finger rule. A correctly fitted collar lets two flat fingers slide under it, no more.
- ID tags on a separate ring reduce noise and stop tags wearing the buckle.
FAQ
Is brass or stainless steel hardware better for a dog collar?
Brass for looks and salt-water tolerance; stainless for maximum strength per dollar. Never mix the two on one collar — galvanic corrosion pits the weaker metal where they touch. Both outperform any zinc die-cast hardware, which is the standard failure point in budget collars.
Can I use Chicago screws instead of rivets?
Yes, and some owners like them for swapping tags or widths. Use thread-locker on the posts and re-check them monthly — see the Chicago screw trade-offs. For working dogs we still recommend rivets.
Why is my collar stretching at the holes?
Either the leather is too soft (chromium-tan dress leather instead of bridle/veg-tan) or the holes are punched too close to the edge. Keep holes 8 mm from the edge in 20 mm+ straps and use 3.5 mm+ leather.
How long should a handmade collar last?
A bridle-leather collar with brass hardware routinely lasts 5–10 years of daily wear. Condition it twice a year and replace it when the hole line stretches more than 5 mm or the D-ring shows elongation — the rest of the collar will long outlive those two checkpoints.
Conclusion
Measure the neck, buy cast hardware, punch holes 8 mm from the edge and rivet the fold properly — a collar built to those four rules will outlast every store-bought one the dog has ever had. For the same construction applied to a human, build the belt in our step-by-step belt tutorial, or browse more in Leathercraft Guides & Tutorials.
Enjoyed this guide?
Browse more in Leathercraft Guides & Tutorials or share this article with another leather maker who'd find it useful.


