How to Make a Leather Lanyard: A Braided Design with a Swivel Snap Hook
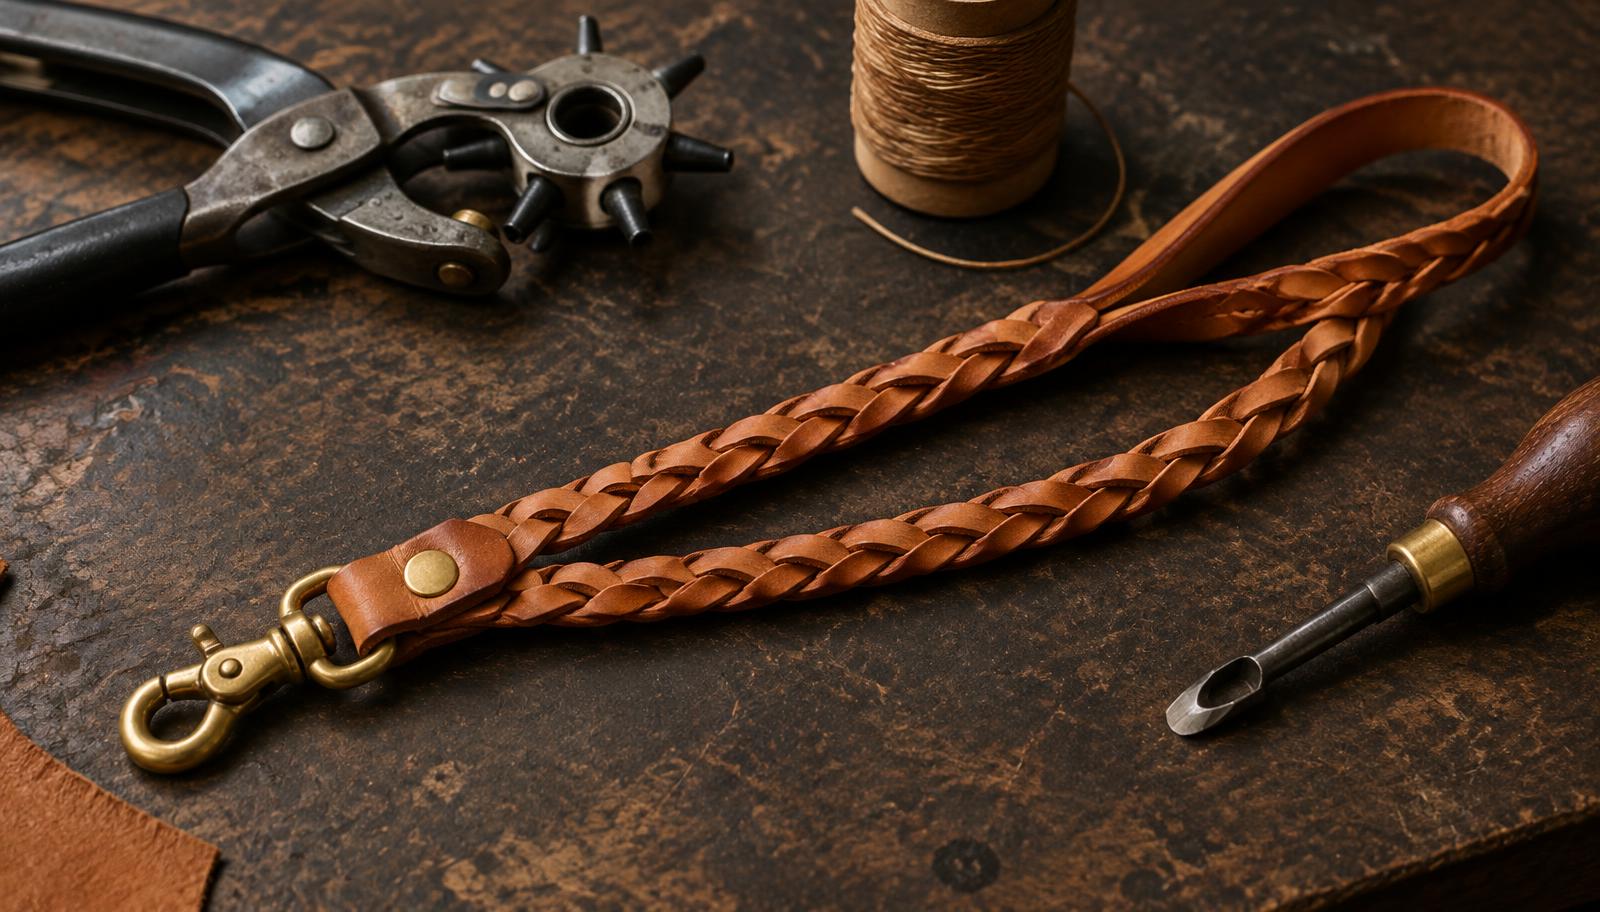
A leather lanyard is the perfect weekend micro-project: it needs one strip of leather, one piece of hardware and about an hour. This version uses the mystery braid — a three-strand braid cut from a single uncut-at-the-ends strip — and closes with a solid brass swivel snap hook set with two rivets. No sewing machine, no press, no prior braiding experience.
Why the mystery braid?
A classic three-strand braid needs three separate laces and two ends to anchor. The mystery braid (sometimes called the "illusion braid") fakes it: you cut two long slits into a single strip, producing three connected strands, then re-braid the ends after each pass. The result looks like a woven braid but the strip is still one piece — no loose ends to hide, and exceptional strength because there is nothing to pull apart.
Sizing chart
Finished lengths below assume the braid shortens the strip by roughly 20–25%. Cut longer than you think; you can always trim.
| Use | Finished length | Strip to cut | Width |
|---|---|---|---|
| Wrist fob for keys | 180–200 mm | 240 x 25 mm | 25 mm |
| Neck lanyard (ID badge) | 450–500 mm loop | 600 x 25 mm | 25 mm |
| Heavy utility lanyard (tools, whistle) | 500 mm loop | 650 x 32 mm | 32 mm |
Use vegetable-tanned leather at 2.5–3.5 mm (6–8 oz). Thinner leather braids but feels flimsy around the neck; thicker will not pull through its own slits cleanly.
Tools and materials
- One veg-tan strip from the chart above, 2.5–3.5 mm thick
- Solid brass swivel snap hook, 25 mm — how it compares to other hooks is covered in our swivel vs trigger snap hook guide
- Two double-cap rivets, 6 mm — see setting double-cap rivets by hand
- Rotary punch or drive punches (2 mm and 3 mm)
- Sharp knife, cutting mat, steel ruler, strap end punch (round or pointed)
- Edge beveler, gum tragacanth or tokonole, wooden slicker, edge dye
Step 1 — Cut and prepare the strip
Cut the strip to size and make every cut edge dead straight — any taper multiplies visibly along a braid. Punch the strap end round with the end punch, bevel all edges, and dye the edges now, before braiding: you will never get a slicker onto the inside edges after the strip is woven.
Step 2 — Cut the slits
- Mark two parallel lines down the centre of the strip, dividing it into three equal strands, stopping 25 mm short of each end.
- Cut along both lines with a fresh blade in several light passes. Keep the cuts clean — ragged slit edges show between the braid's gaps.
- At the closed end, the three strands remain joined; at the open end you now have a small uncut tab holding all three strands together.
Step 3 — Braid
Hang the closed end on a peg or clip it in a vice with the tab facing you. Braid left over centre, right over centre — the standard three-strand sequence. After roughly four crosses, the strip's ends will have flipped and the braid starts to look tangled: this is correct. Straighten the strands, flip the uncut tab through the loop of strands, and continue. Repeat the flip-and-braid cycle until about 40 mm of unbraided tab remains, then even out the braid tension section by section with your fingers before setting it with a mallet face.
Step 4 — Attach the swivel hook
- Feed the open tab through the swivel hook's round eye and fold it back on itself 20 mm, sandwiching the braid's end.
- Punch two 2 mm holes through all layers, 10 mm apart and 6 mm from the tip.
- Set a double-cap rivet in each hole. For the strongest joint on a utility lanyard, substitute two 4 mm copper rivets and burrs as shown in our hand-setting copper rivets guide.
- Pull the assembled hook hard, twice, over the edge of the bench. If anything shifts, redo it — this joint carries the whole load.
Step 5 — Finish the other end and the edges
Punch a 3 mm hanging hole 15 mm from the closed end (for a badge clip or key ring) or fold the closed end back on itself the same way as the hook end if you want a second attachment point. Burnish the outer edges with gum tragacanth and a wooden slicker until hard and glassy — the full process is in our edge burnishing guide. Finally, rub a thin coat of neutral leather balm over the whole braid to even out the sheen.
Troubleshooting
| Problem | Cause | Fix |
|---|---|---|
| Braid looks loose and gappy | Strands not tensioned per section | Work the braid tight section by section before the final mallet set |
| Strip twists along its length | Strands cut unevenly | Keep both slit lines perfectly parallel; re-cut rather than braid a taper |
| Slit ends tear | Leather too thin or slits too close to the ends | Use 2.5 mm+ leather and stop slits 25 mm from the ends |
| Hook joint rotates loose | Rivets too short for the stack | Measure the folded stack and size the rivet to thickness + 2 mm |
| Braid flattens after a week | No setting | Set the braid with a mallet face, then balm it |
FAQ
Can I braid chrome-tanned leather?
Yes, but it stretches and the slit edges fuzz. Veg-tan holds the braid's geometry; if you must use chrome-tan, cut it 15% narrower and edge-paint the slits before braiding — see our edge paint vs burnishing comparison.
How strong is a mystery-braid lanyard?
Very. Because the strip is one piece, the braid fails only when the leather itself tears. The weak link is always the hook joint — which is why it gets two rivets and a hard pull test before you call it done.
Can I use the same technique for a wider belt-style strap?
The braid scales, but wide mystery braids get stiff and bulky. For anything over 32 mm, a flat strap with stitching is cleaner — our belt tutorial covers that construction.
What else can I hang on it?
The 25 mm swivel eye also accepts small carabiners and key rings — we compared those options for fobs in carabiner vs snap hooks for key fobs, and the sizing logic there applies directly.
Conclusion
Cut straight, braid tight, rivet the hook properly and burnish before you assemble — that is the whole craft of a lanyard that outlives the keys on it. For a stitched variation on the same idea, build the beginner leather key fob next, or browse more projects in Leathercraft Guides & Tutorials.
Enjoyed this guide?
Browse more in Leathercraft Guides & Tutorials or share this article with another leather maker who'd find it useful.


