How to Make a Leather Luggage Tag with a Snap or Grommet Closure
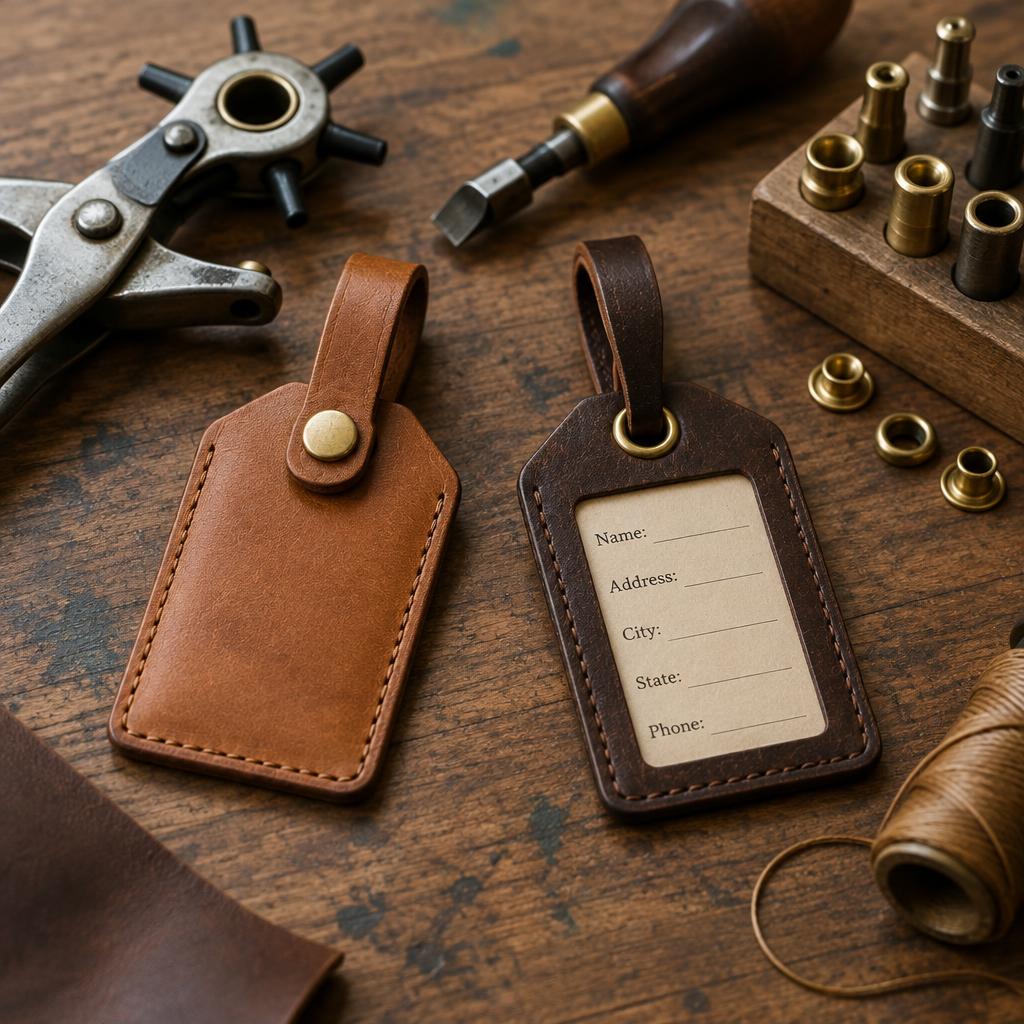
A leather luggage tag is the ideal evening project: two small cuts, one piece of hardware, and a finished object that survives baggage handlers for decades. This guide covers both classic closures — snap and grommet — plus the privacy flap that keeps your address hidden from everyone except airline staff.
Snap or grommet: which closure?
| Snap closure | Grommet closure | |
|---|---|---|
| How it attaches | Strap snaps around the handle, removable without tools | Strap threads through the grommet eye and buckles or ties |
| Privacy | Flap hides the insert completely | Insert visible unless a flap is added |
| Tools needed | Snap setter and mallet | Grommet die and anvil (or eyelet pliers) |
| Best for | Frequent travellers who swap bags | Permanent attachment, vintage style |
| Security | Snap can be opened by anyone | Harder to remove without tools |
If you travel with different bags, the snap wins. For a single checked suitcase, the grommet is the classic — and the setting technique is the same one in our eyelet and grommet guide.
Cutting list
| Piece | Size | Thickness |
|---|---|---|
| Tag body | 70 x 105 mm, corners rounded | 1.8–2.0 mm (4–5 oz) veg-tan |
| Privacy flap | 70 x 55 mm | 1.5–1.8 mm |
| Strap | 110–140 x 15 mm | 2.0 mm |
| Paper insert | 55 x 85 mm (trim to fit) | Card stock |
Leftover wallet leather works perfectly — this is the project to pair with the leather card holder build so nothing from the hide goes to waste.
Tools and materials
- Leather per the cutting list
- One Line 20 snap, or one 8 mm brass grommet with washer — snap setting without a press is covered in installing Line 20 snaps by hand
- Rotary punch (2 mm and 5 mm), strap end punch, corner rounder or coin to trace
- Edge beveler, gum tragacanth, wooden slicker, edge dye — process in the edge burnishing guide
- Contact cement, waxed thread, two harness needles, steel ruler, wing divider
Step 1 — Cut, round and bevel
Cut the body, flap and strap; round all corners (6–8 mm radius) — square corners on small items fray first. Bevel and burnish every edge of every piece now, before assembly. On a tag this size, crisp edges are 80% of the perceived quality; if you prefer colour, edge paint works well here too, as compared in edge paint vs burnishing.
Step 2 — Add the window and insert
- Position the flap over the lower two-thirds of the body and punch a 5 mm window slot through both layers at the centre-top — use the hole size chart to match punch to hardware.
- Write your details on the card insert: name, phone, and email. Never put your full home address on a luggage tag — it tells everyone at the carousel exactly which house is empty. City and phone are enough; the airline has the rest.
- Cement the flap's top edge to the body with a hairline of contact cement, then saddle-stitch it across the top so it hinges forever. Stitching technique in the saddle stitch tutorial.
Step 3A — Snap closure
- Punch a 2 mm hole in the strap's tail and through the tag body where they overlap when wrapped.
- Set the snap's female socket in the strap and the male stud in the body — or reverse, depending on which way you want the strap to face.
- Test-snap five times. The snap should close with a firm click and hold when tugged.
Step 3B — Grommet closure
- Punch a 5 mm hole in the tag's centre-top, 8 mm from the edge.
- Set the grommet and washer with the die — the full anvil-and-mallet sequence, including the cracking mistakes to avoid, is in the grommet setting guide.
- Thread the strap through the grommet and close it around the handle with a small buckle, a Chicago screw, or a stitched loop. For the screw option, the mechanics are in Chicago screws vs rivets.
Step 4 — Finish
Punch the strap's tail round, burnish its end, and rub the whole tag with neutral balm. Optional: monogram the flap with a two-letter stamp set before assembly — it is much easier to position on a flat piece.
FAQ
Will the airport scanner damage the tag?
No — leather and brass pass through without issue. The real enemy is the baggage carousel: the grommet and rivet backs are what get scraped, which is why brass (not plated zinc) is worth the small premium on a tag that grinds along metal chutes.
Can I waterproof it?
A coat of leather balm repels rain; for checked luggage in monsoon season, use a heavier wax-based dressing — but expect the patina either way. The insert is what must stay readable, so many makers laminate the card instead.
What if I have no rivets or snaps — anything simpler?
Yes: punch two 2 mm holes in the tag top and stitch the strap on directly with a saddle stitch in waxed thread. It is the oldest construction there is and, unlike a snap, cannot be opened by anyone in transit — see the saddle stitch tutorial.
How thick should the leather be?
1.8–2.0 mm. Thinner tags curl in checked luggage; thicker ones are stiff to write against and the flap will not close flat. If your only stock is 3 mm, skive the flap edge down — technique in the skiving guide.
Conclusion
Round the corners, burnish the edges, hide the address, and set one honest piece of brass hardware — that is a luggage tag that outlasts the suitcase. For the matching travel set, build the leather key fob and check the TSA lock guide, or browse more in Leathercraft Guides & Tutorials.
Enjoyed this guide?
Browse more in Leathercraft Guides & Tutorials or share this article with another leather maker who'd find it useful.


